How to Configure an Epson TM-U220 Impact Printer

Modified on Tue, 14 Feb, 2023 at 5:54 PM

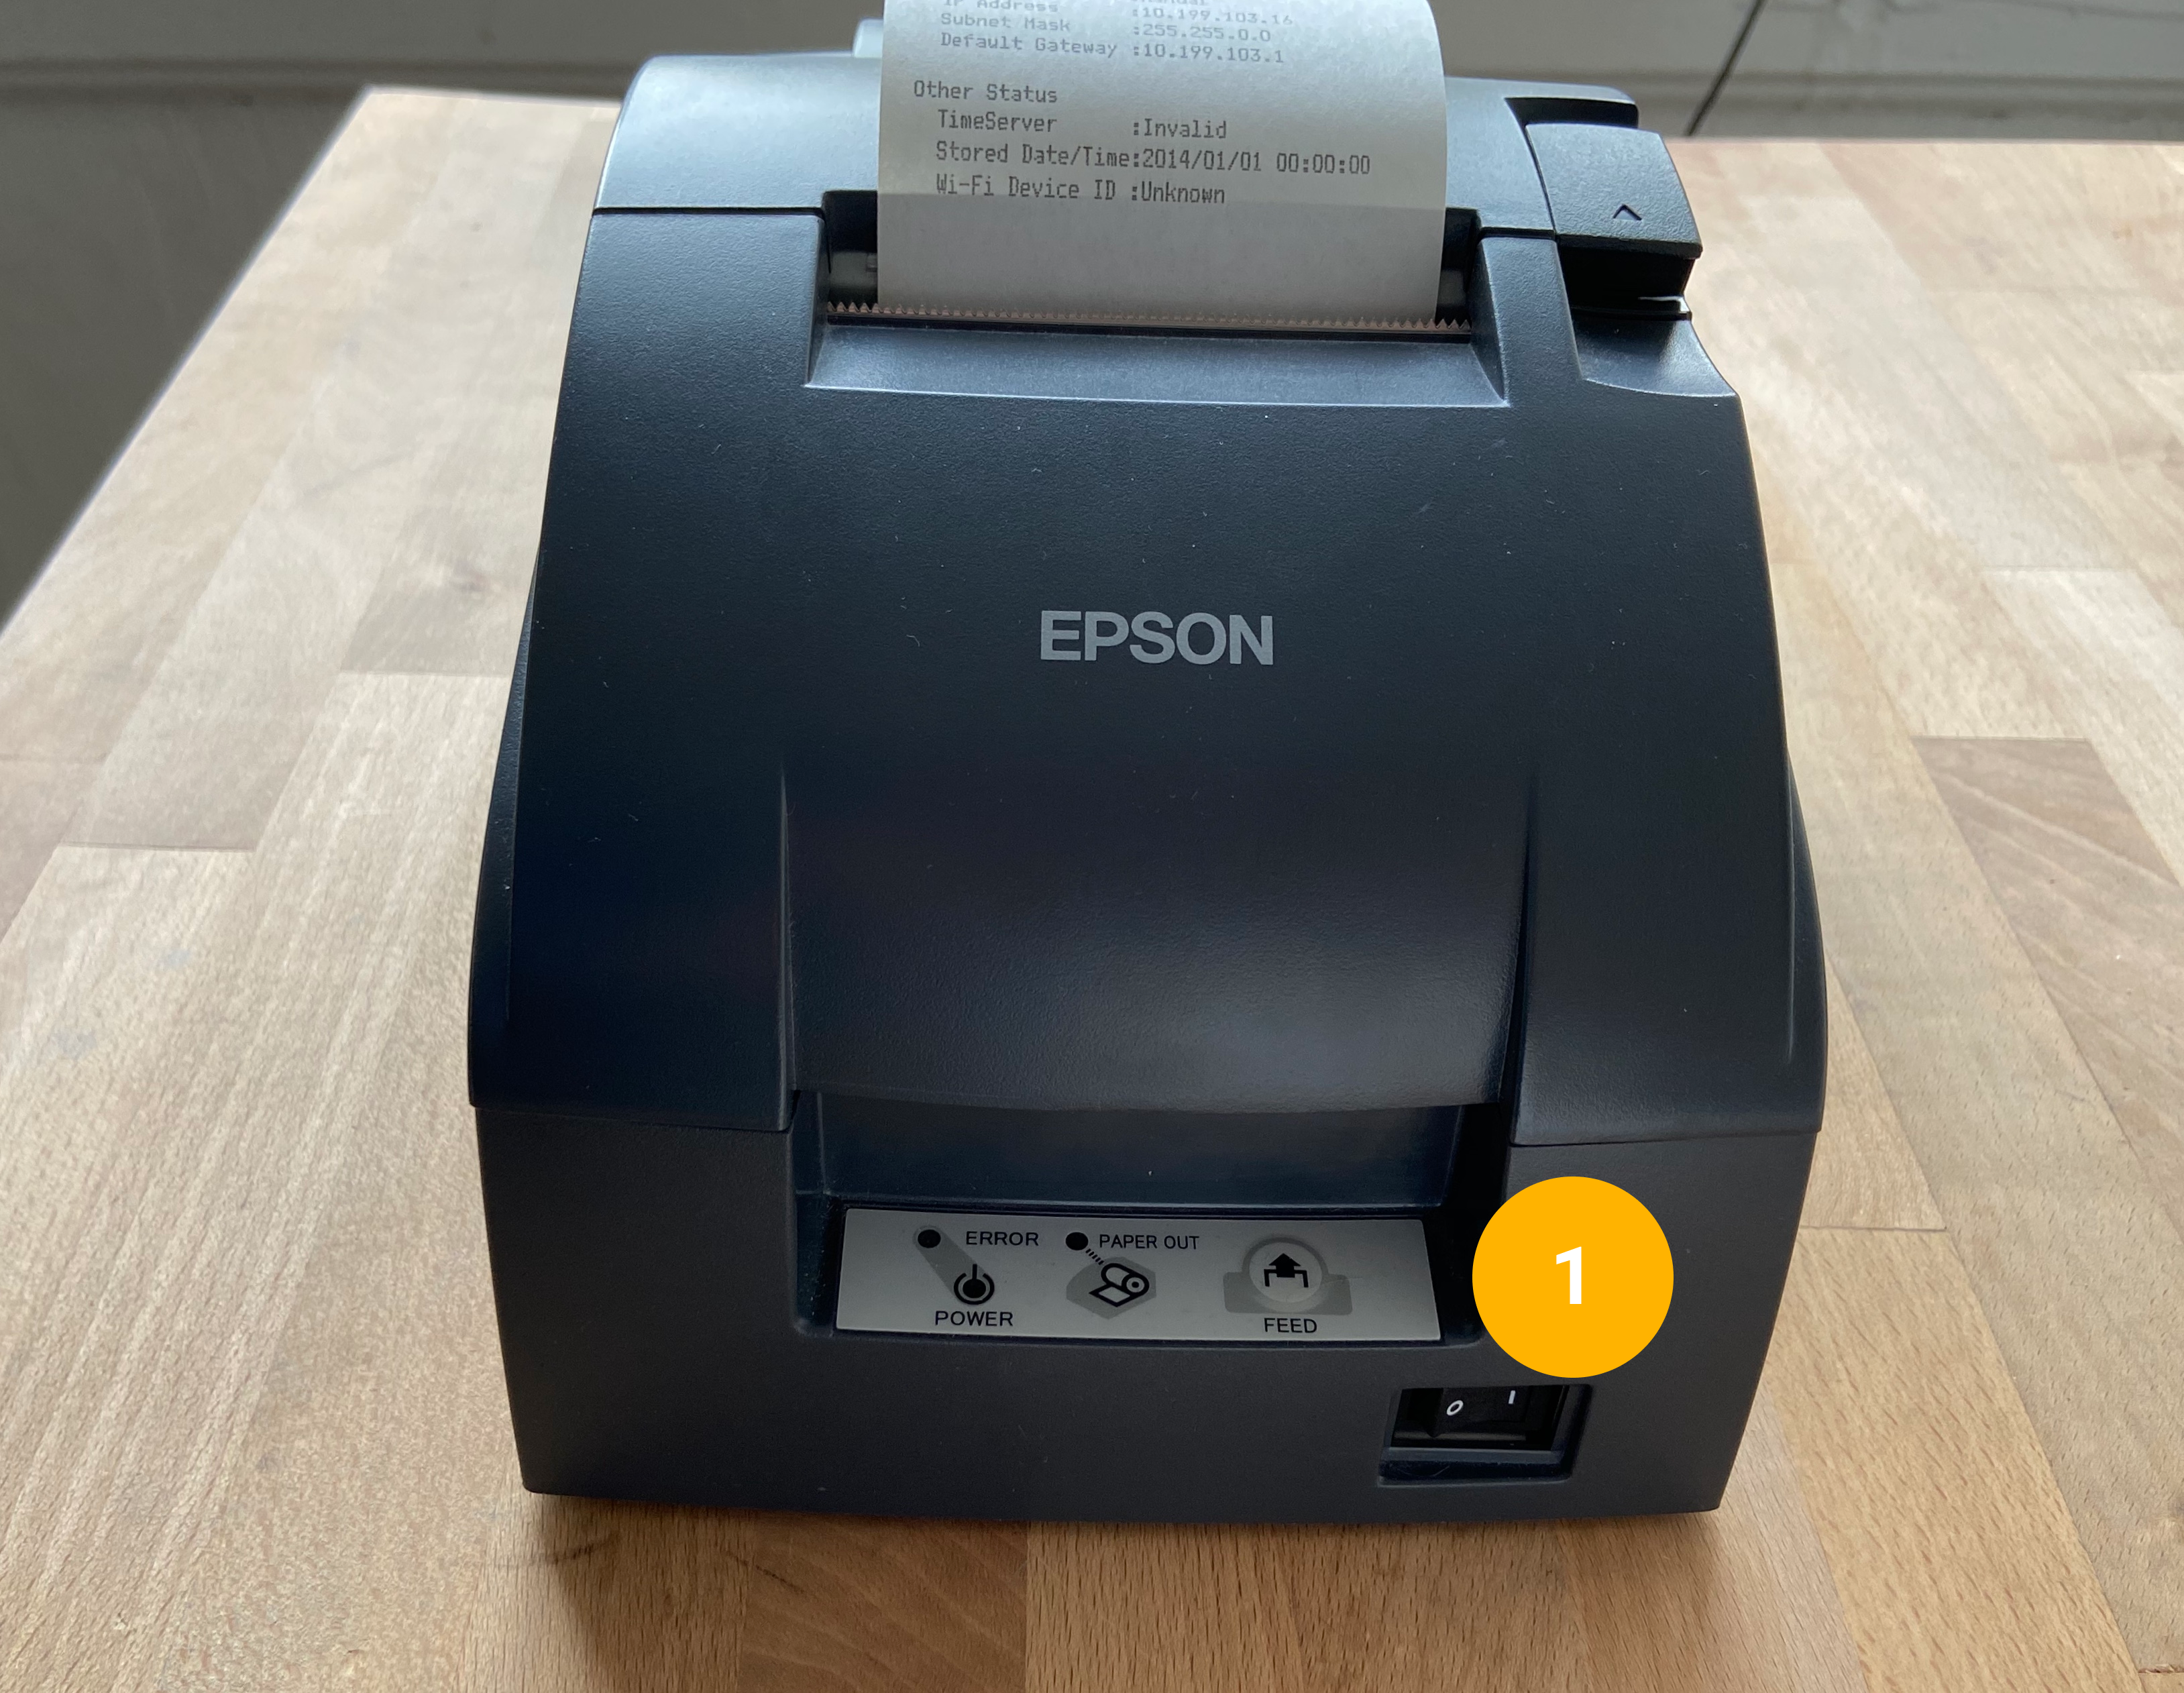
Factory Reset the Epson TM-U220 printer

  1. Turn the printer OFF

 Factory_Reset_01.png

  1. Turn the printer upside down

 Factory_Reset_02.png

  1. Locate the Network Adapters on the rear underside of the printer. The small black dot below or above the yellow label is the Network Status Button

 Factory_Reset_03.png

  1. Turn the printer right side up

  2. Use the tip of a pen or a paperclip to depress and hold the Network Status Button

  3. Turn the printer ON while continuing to hold the Network Status Button

 Factory_Reset_04.png

  1. The printer will make a mechanical noise and print a sheet indicating it is in the process of resetting to factory defaults

 Factory_Reset_05.png

  1. Wait until a small receipt with the below information prints (this can take about 60 seconds)
    *******************************
    IP Address : 192.168.192.168
    SubnetMask : 255.255.255.0
    Gateway : 0.0.0.0
    DHCP : No Server -> Static
    *******************************

 Factory_Reset_06.png


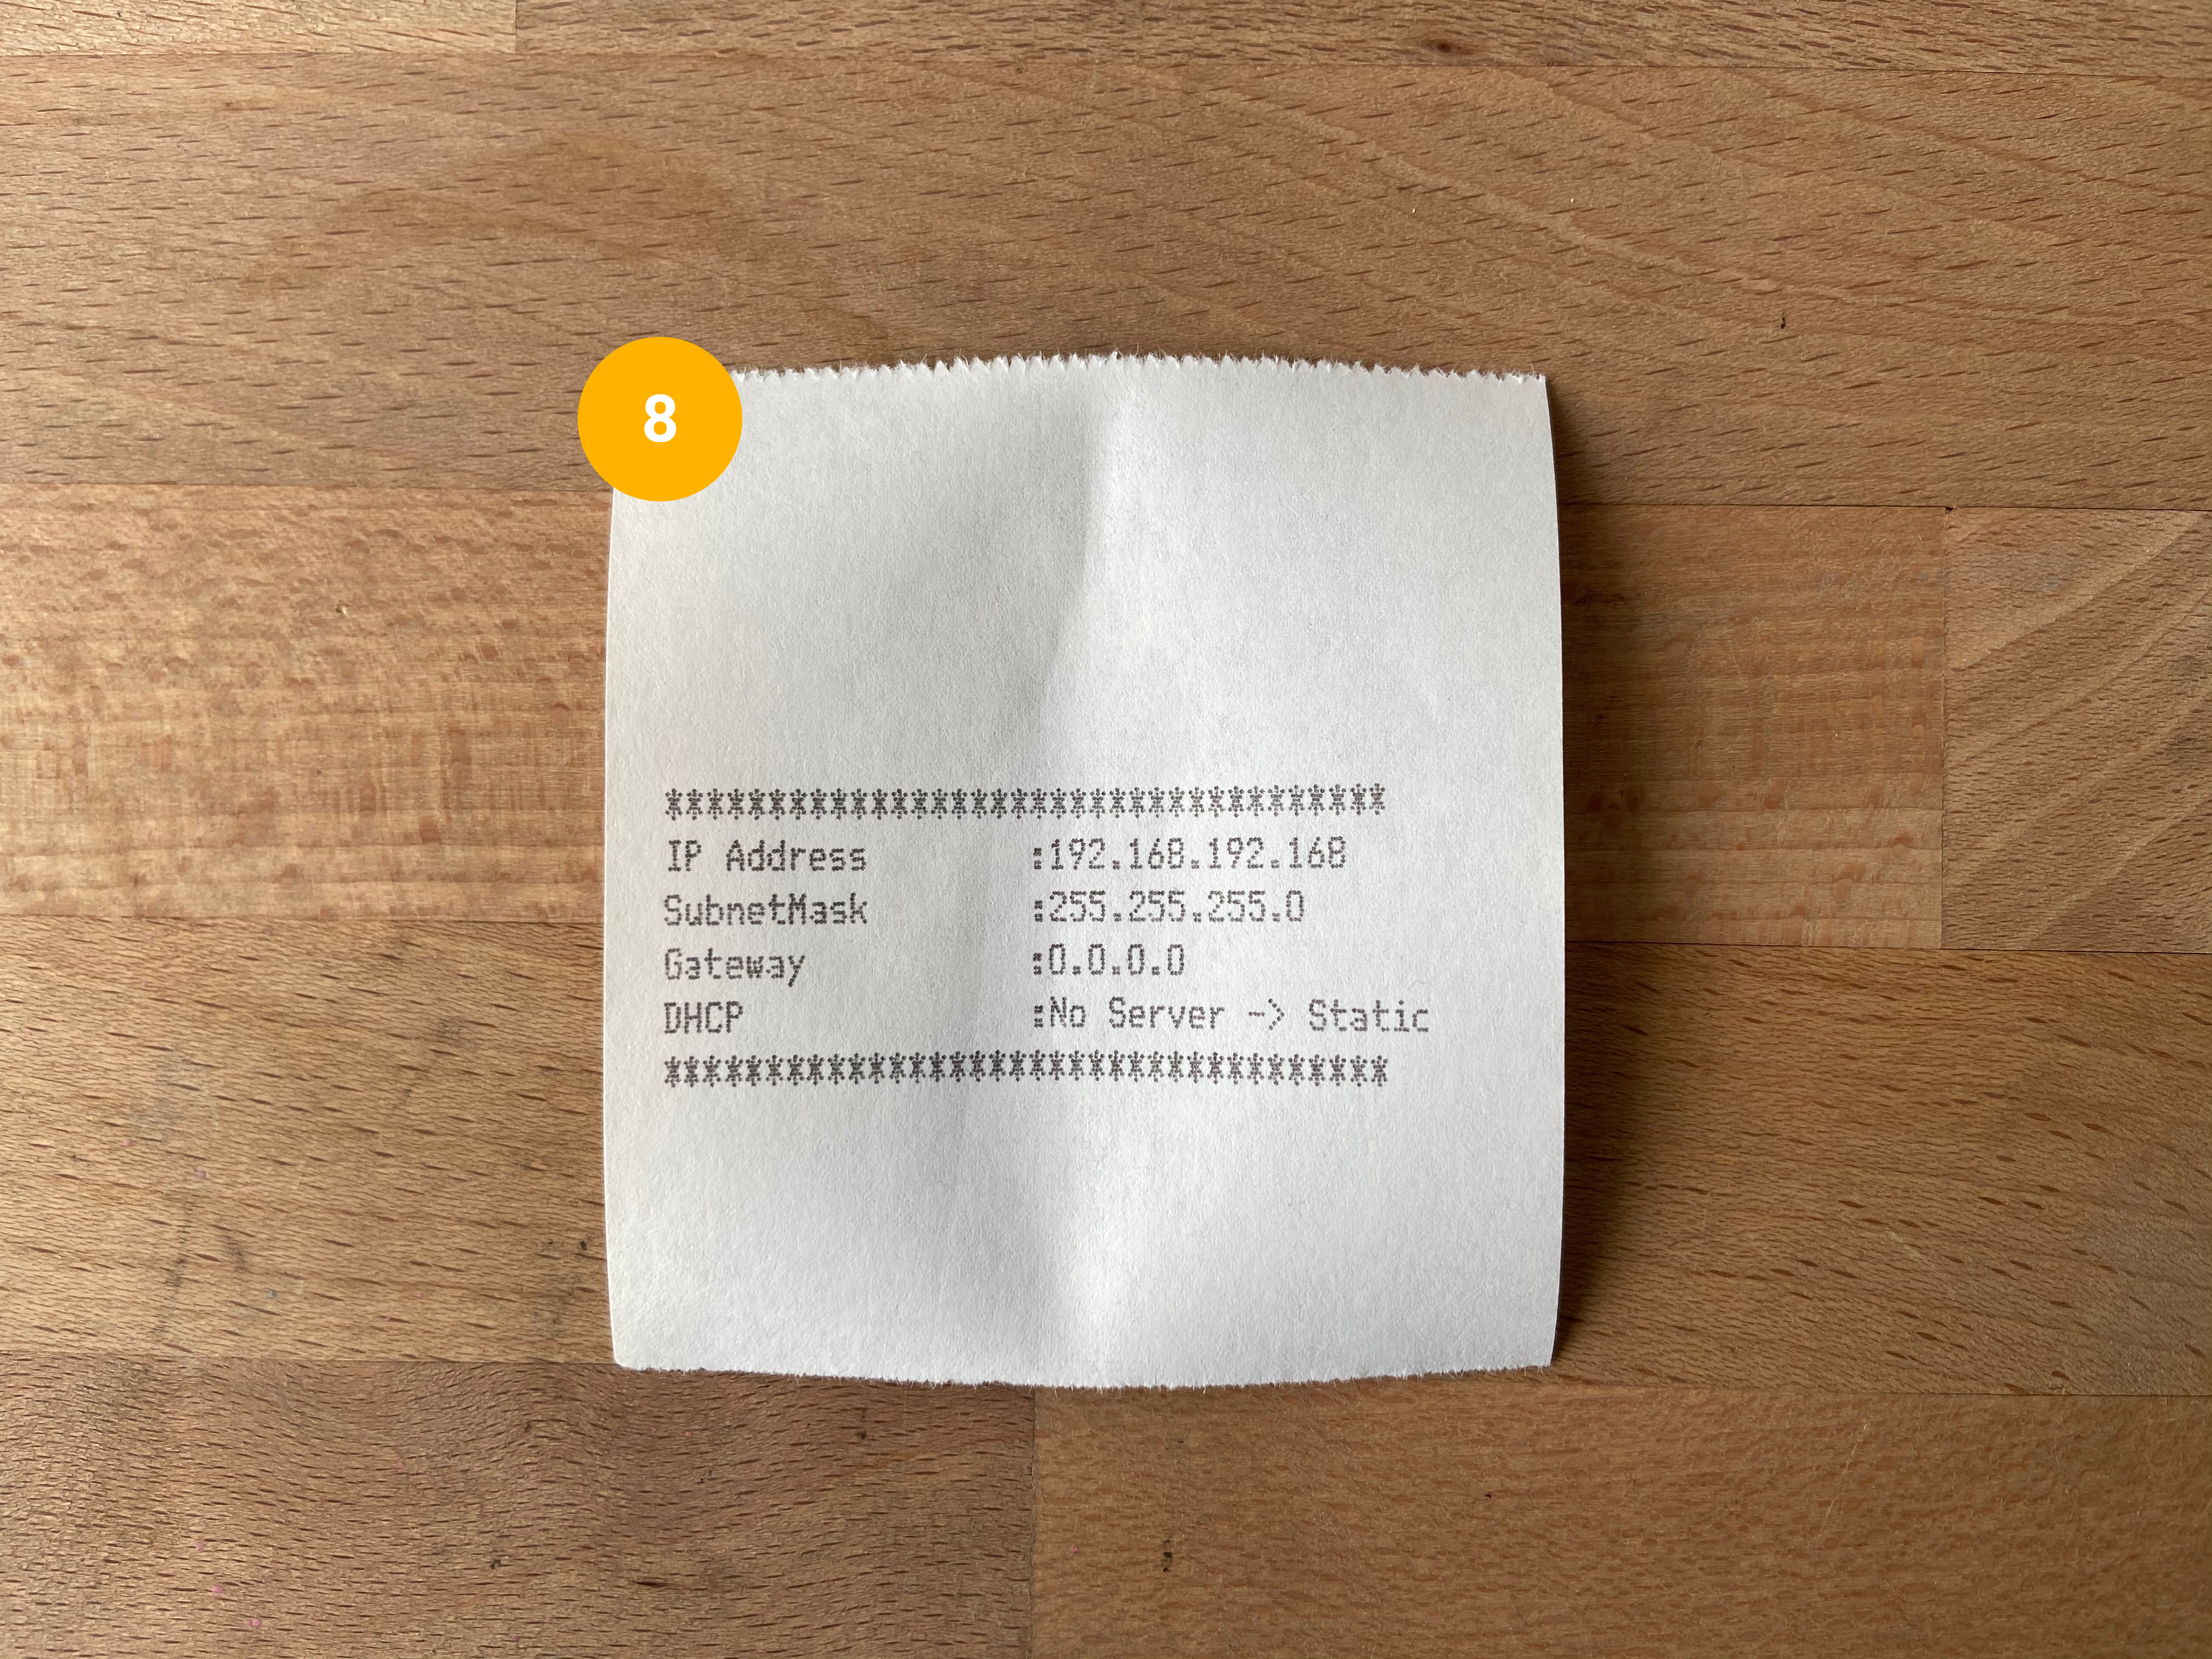
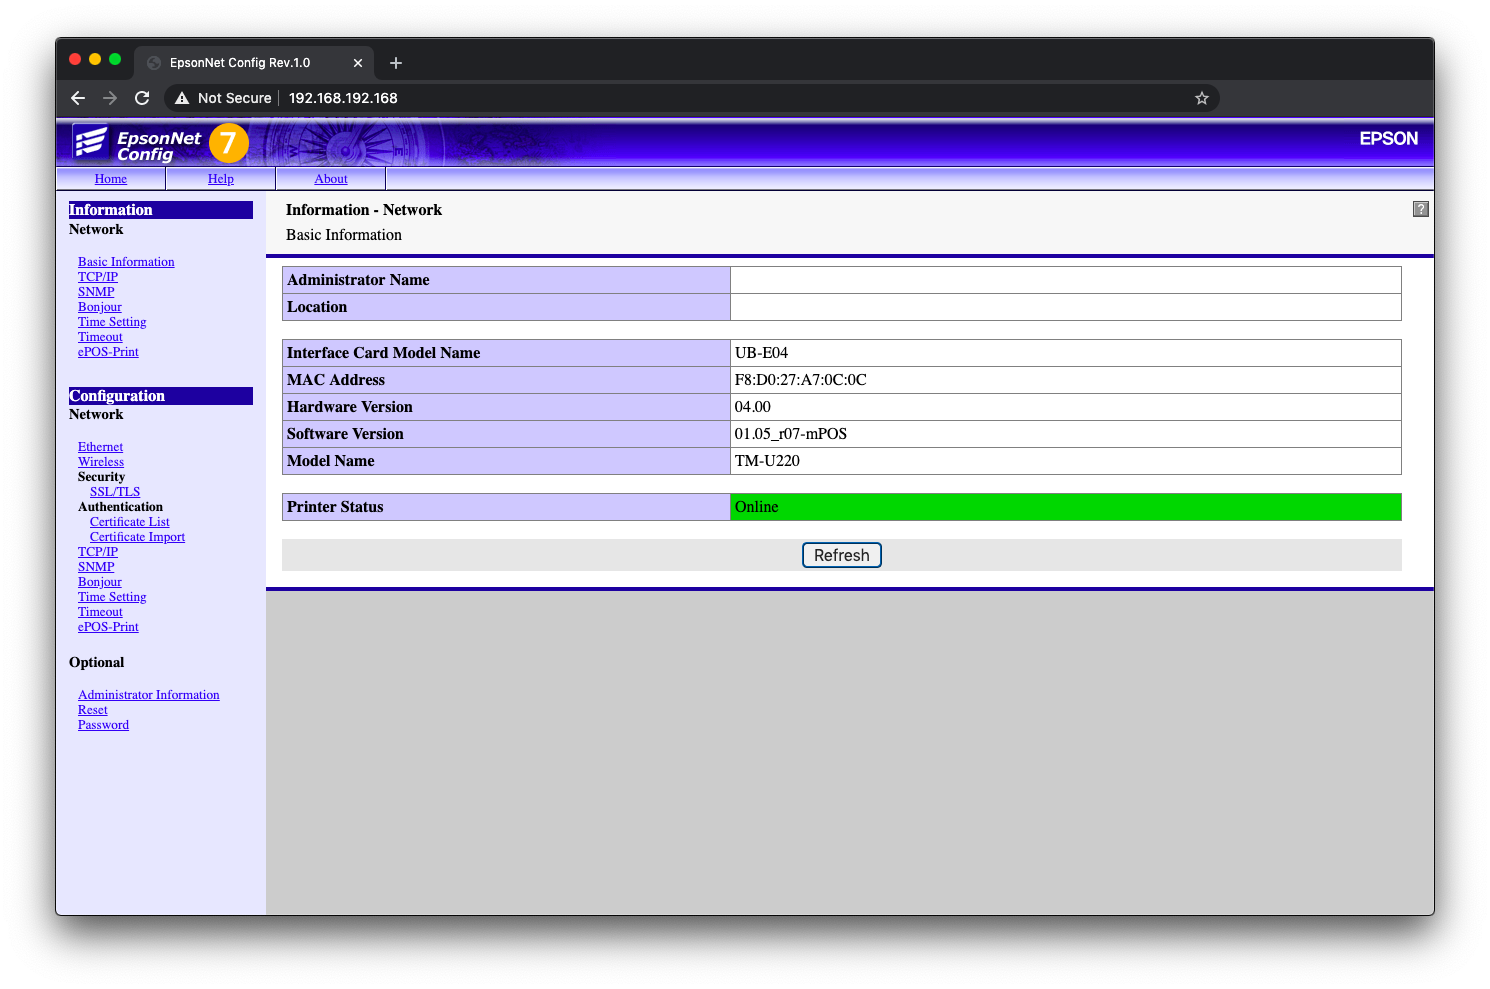
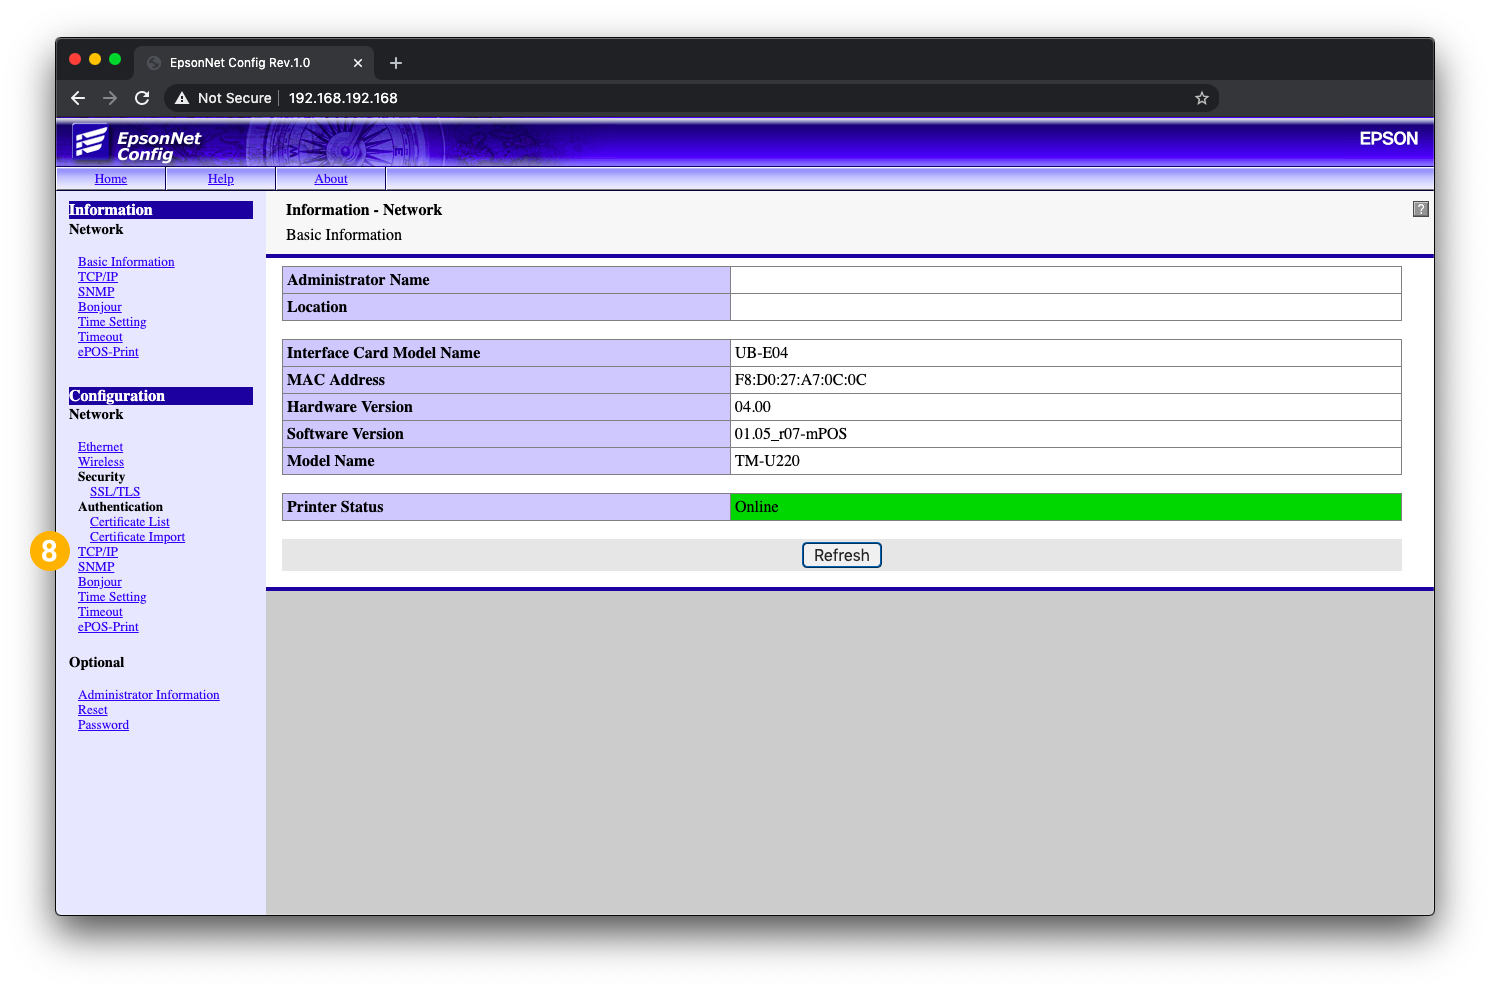
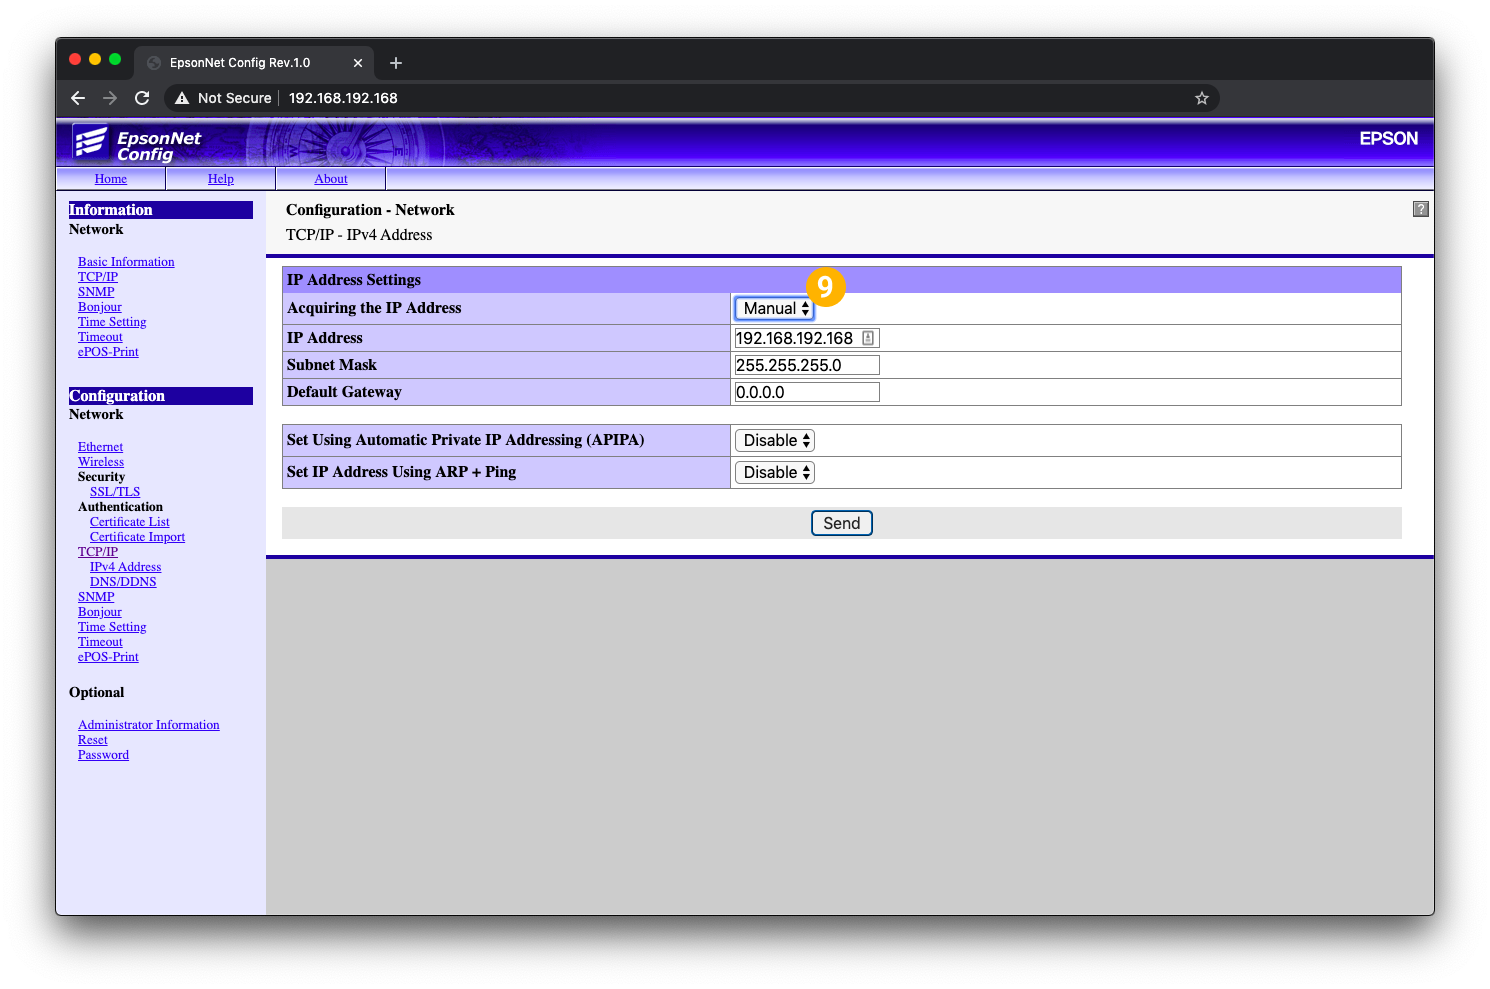
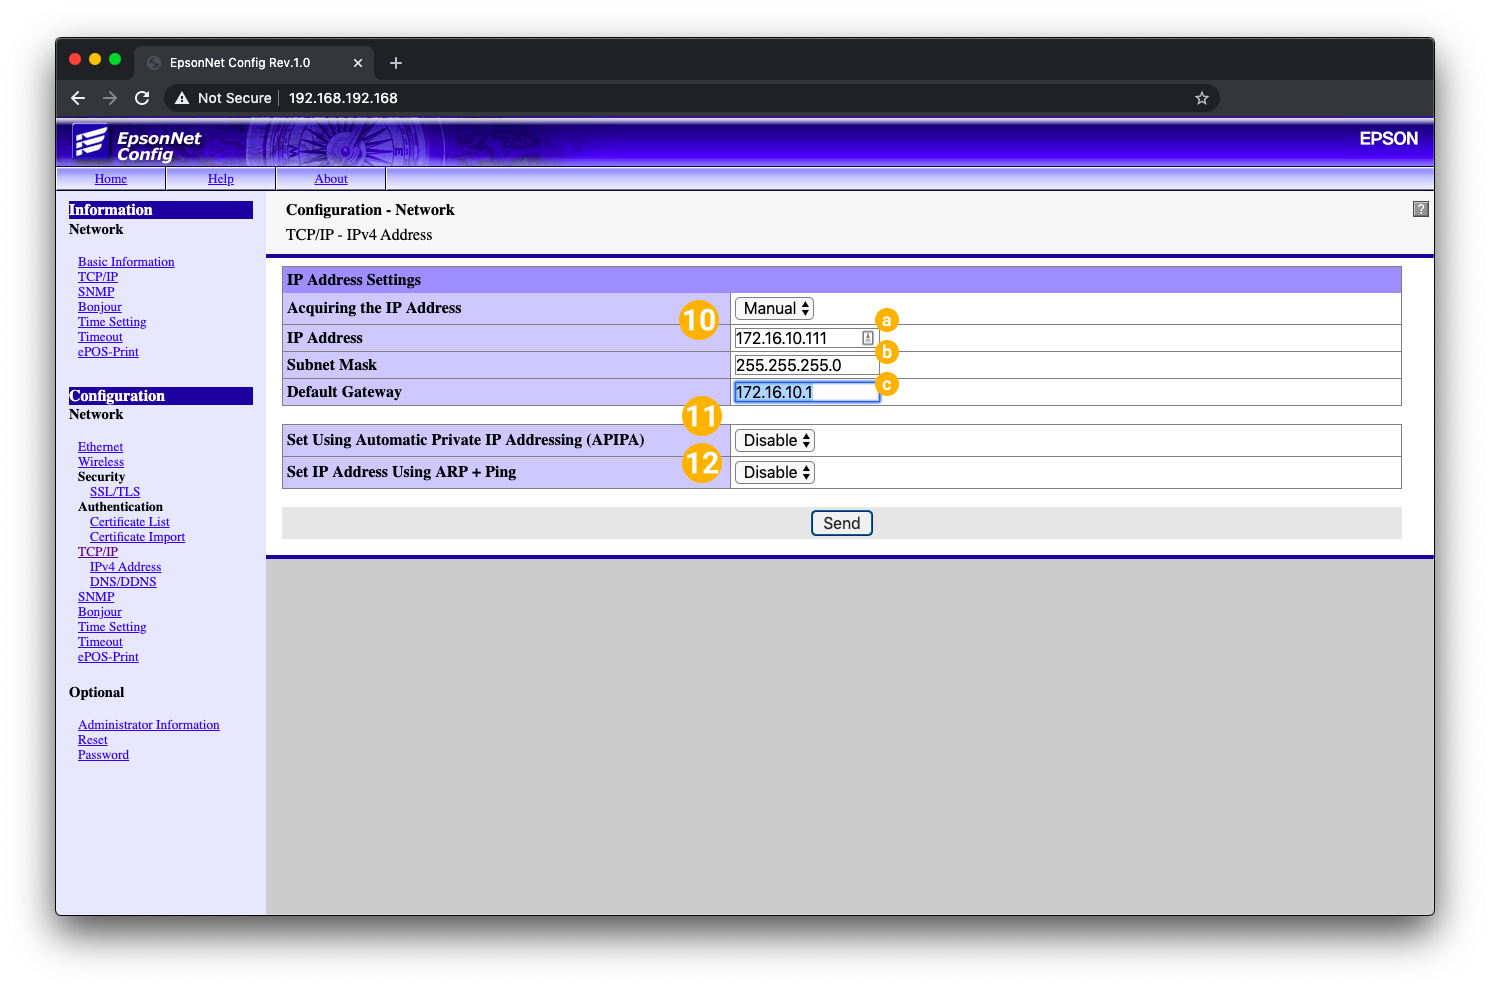
Set a network configuration to the Printer

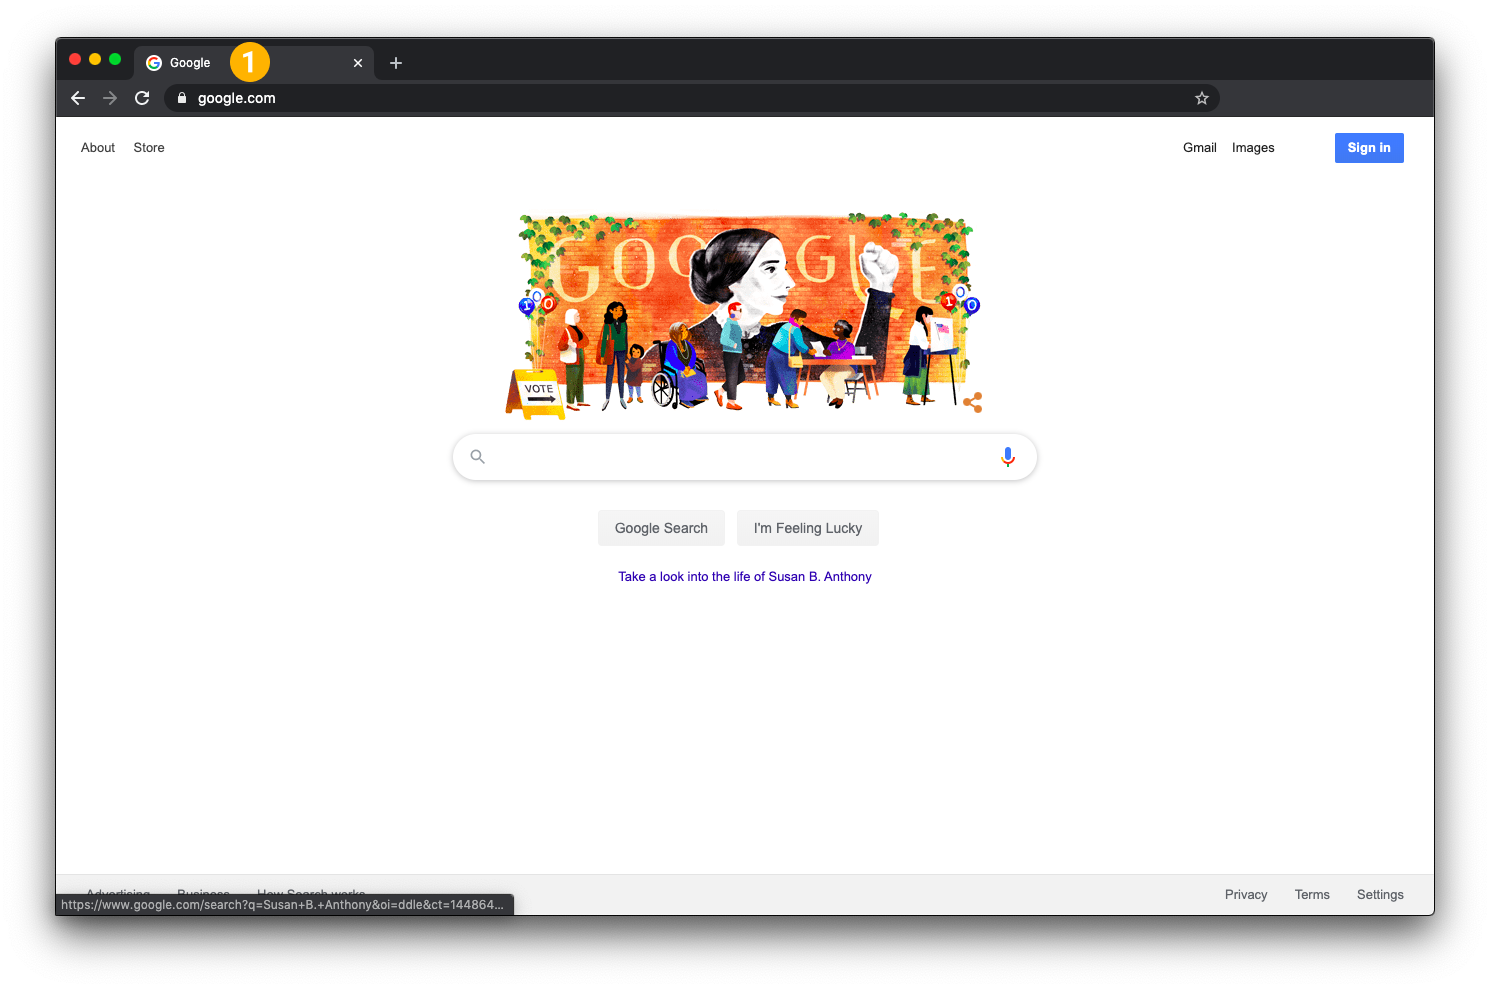
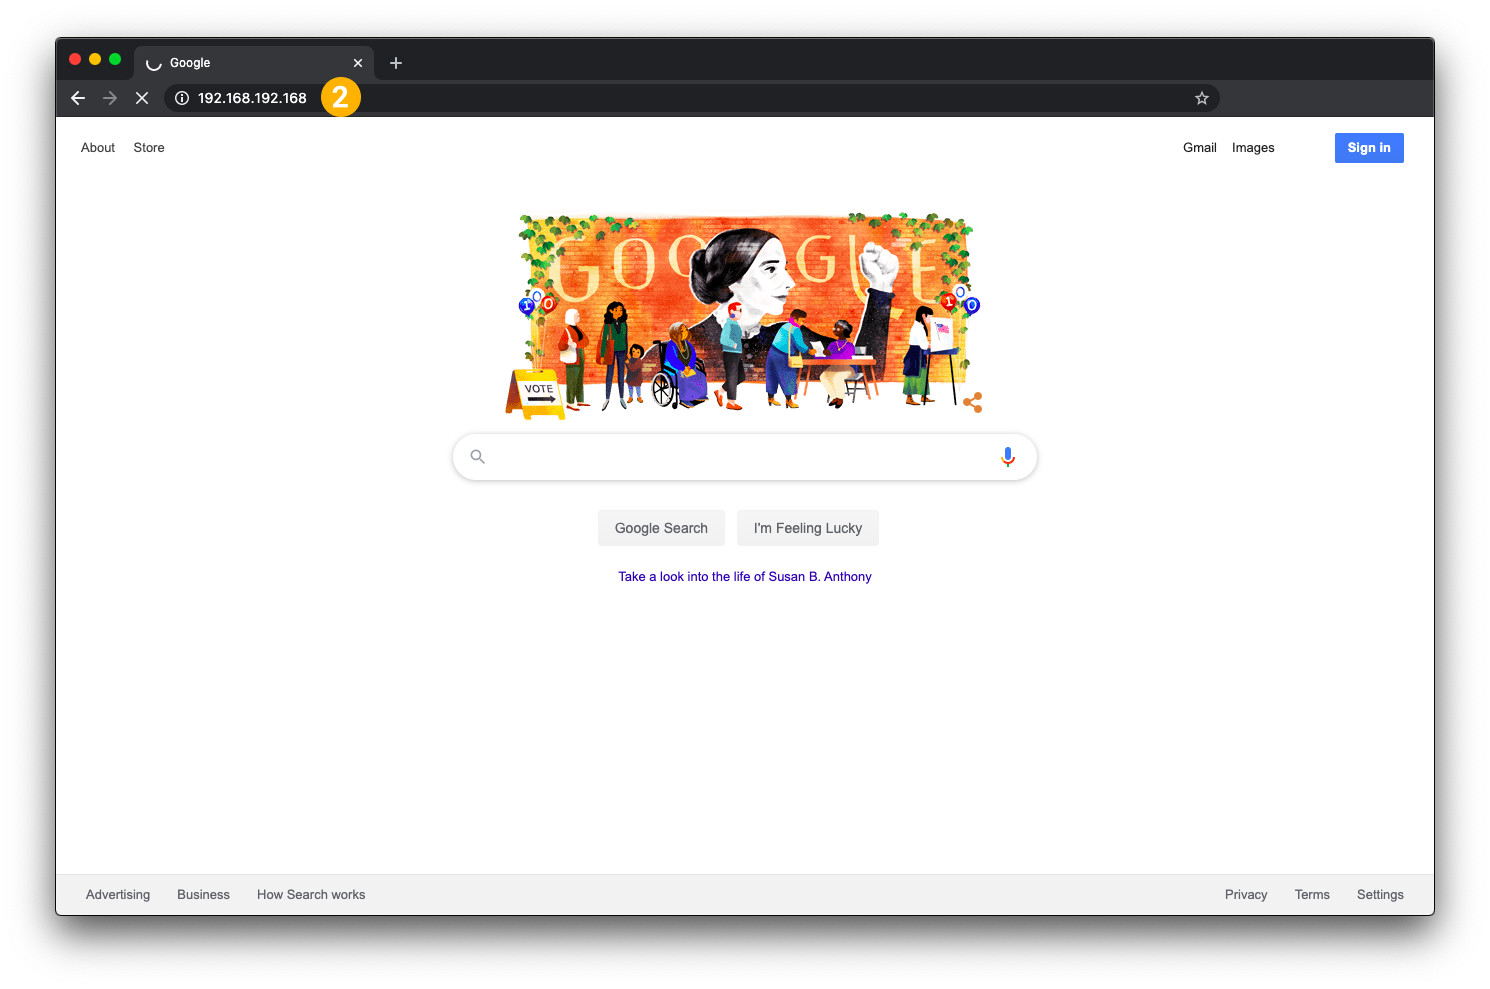
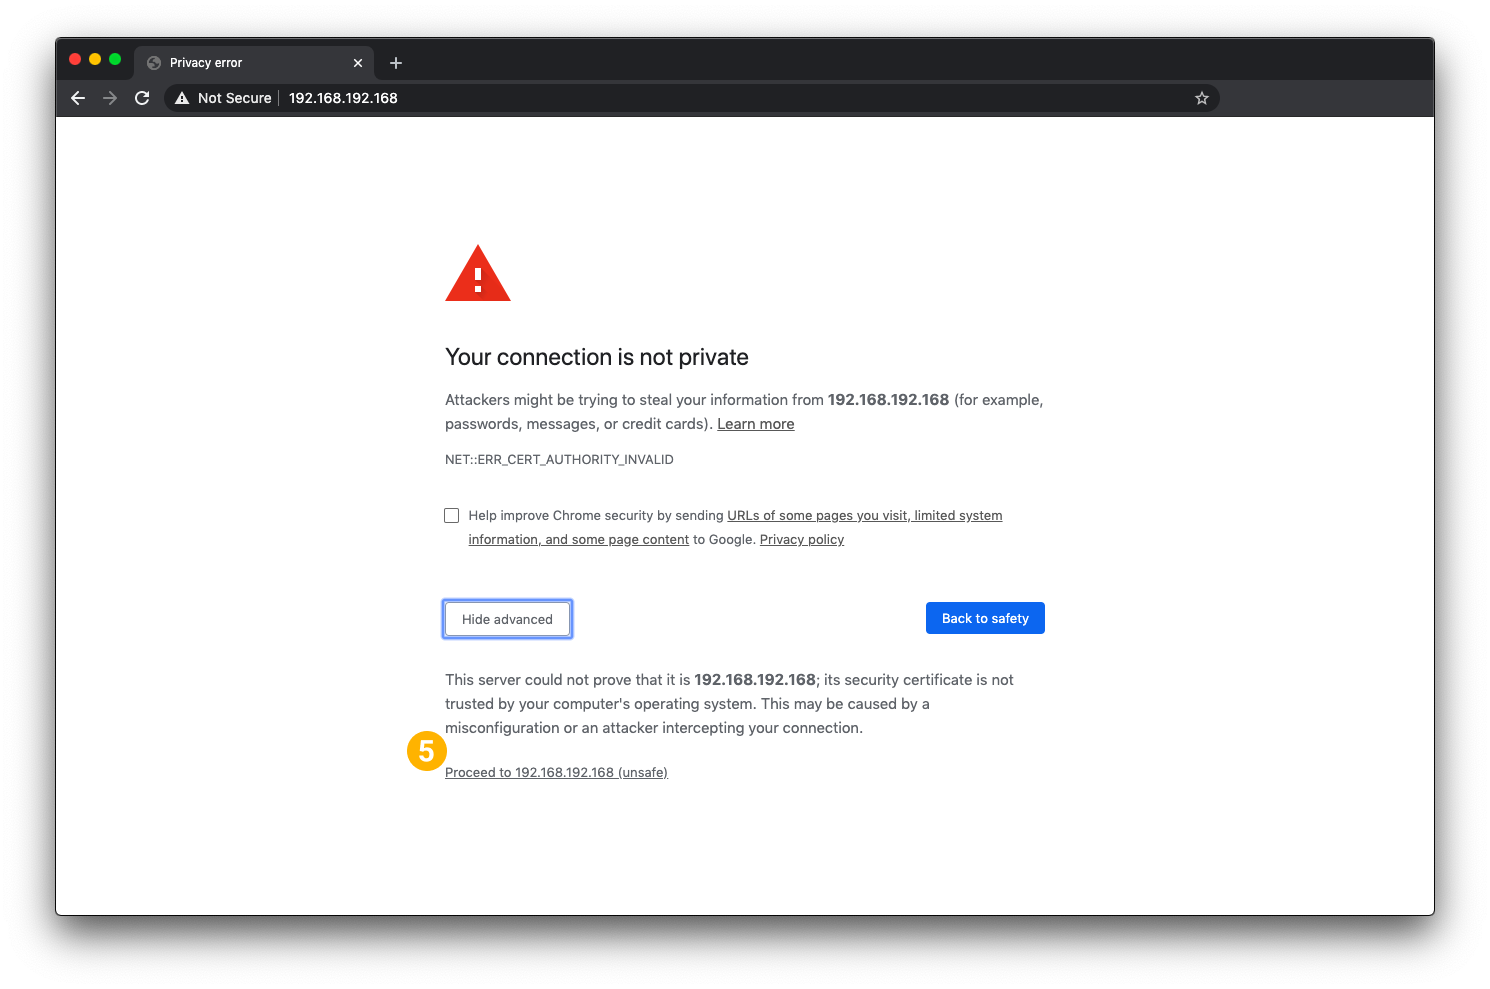
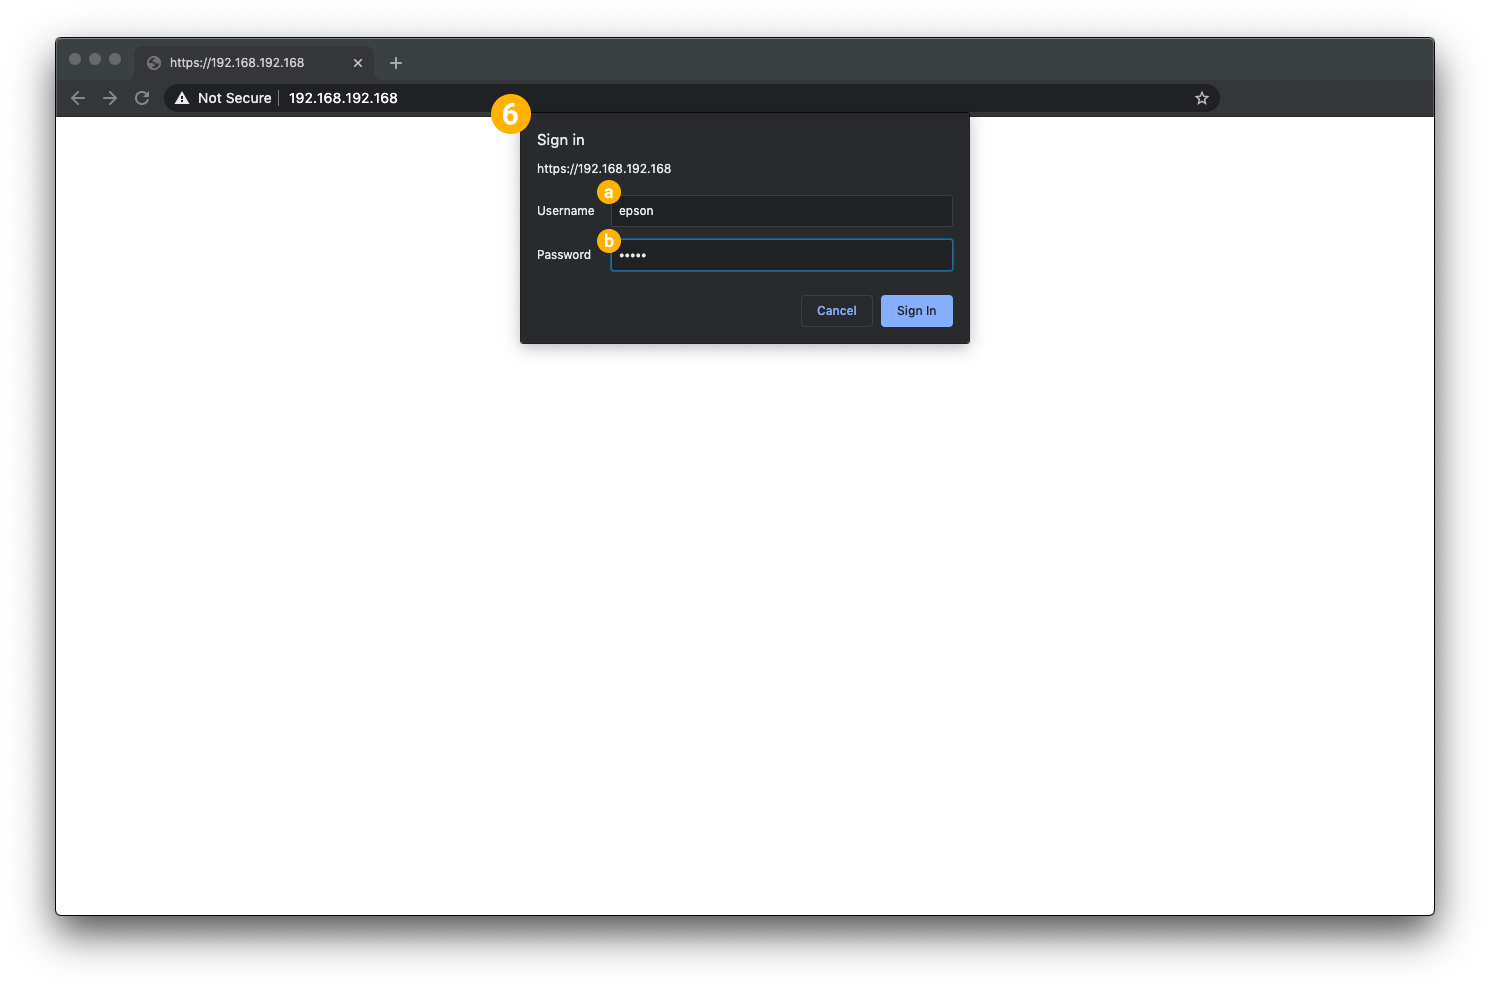
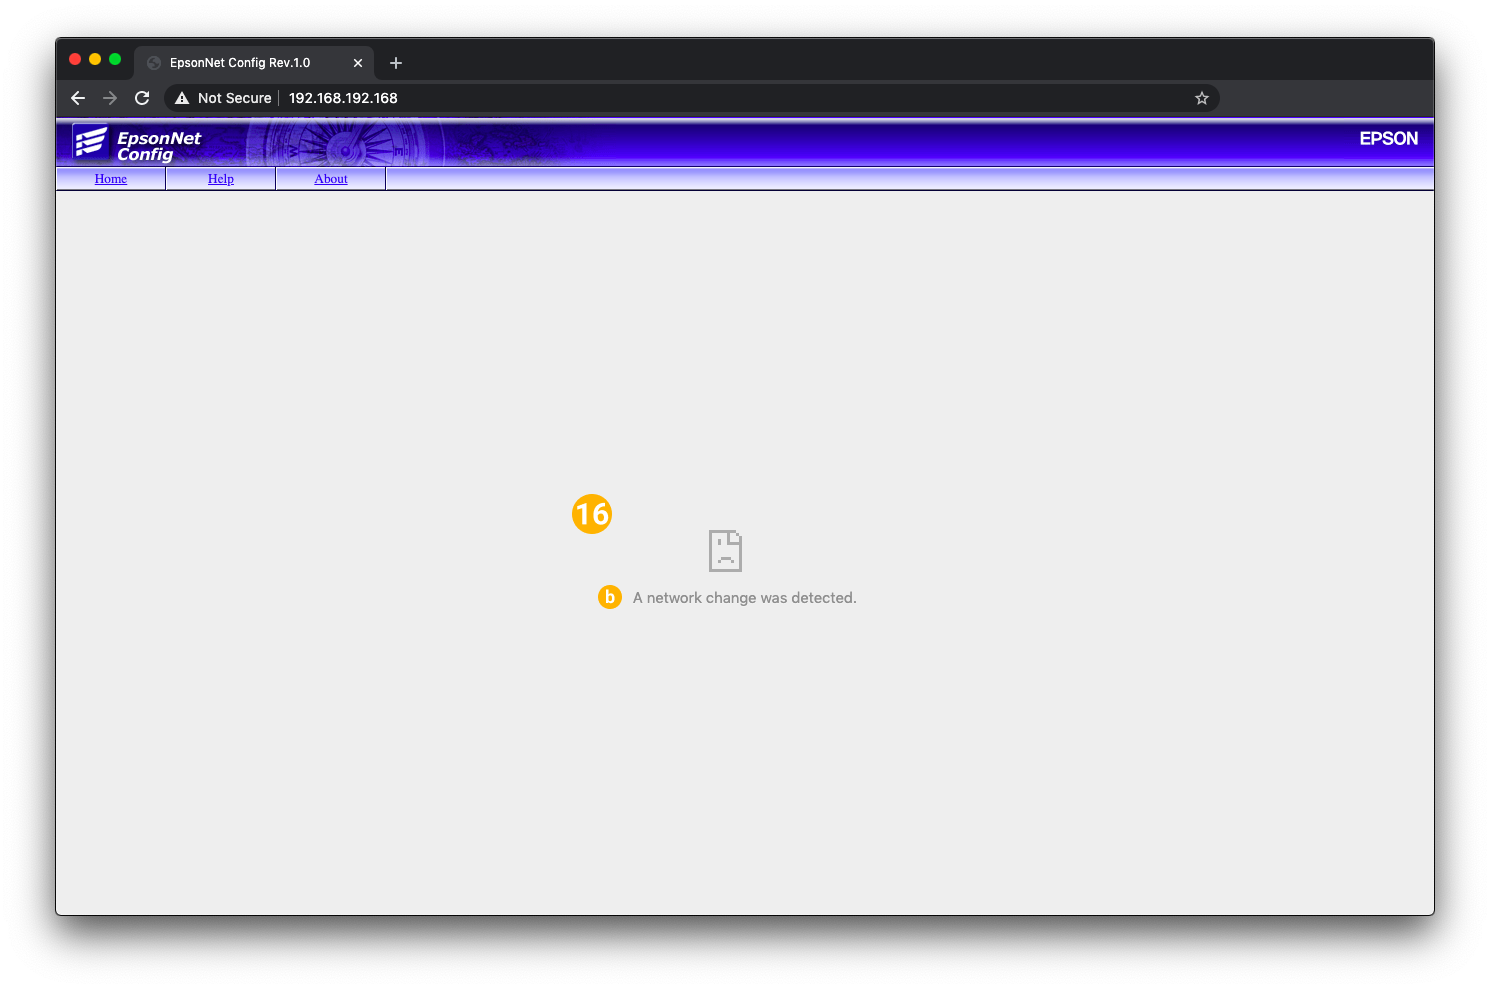
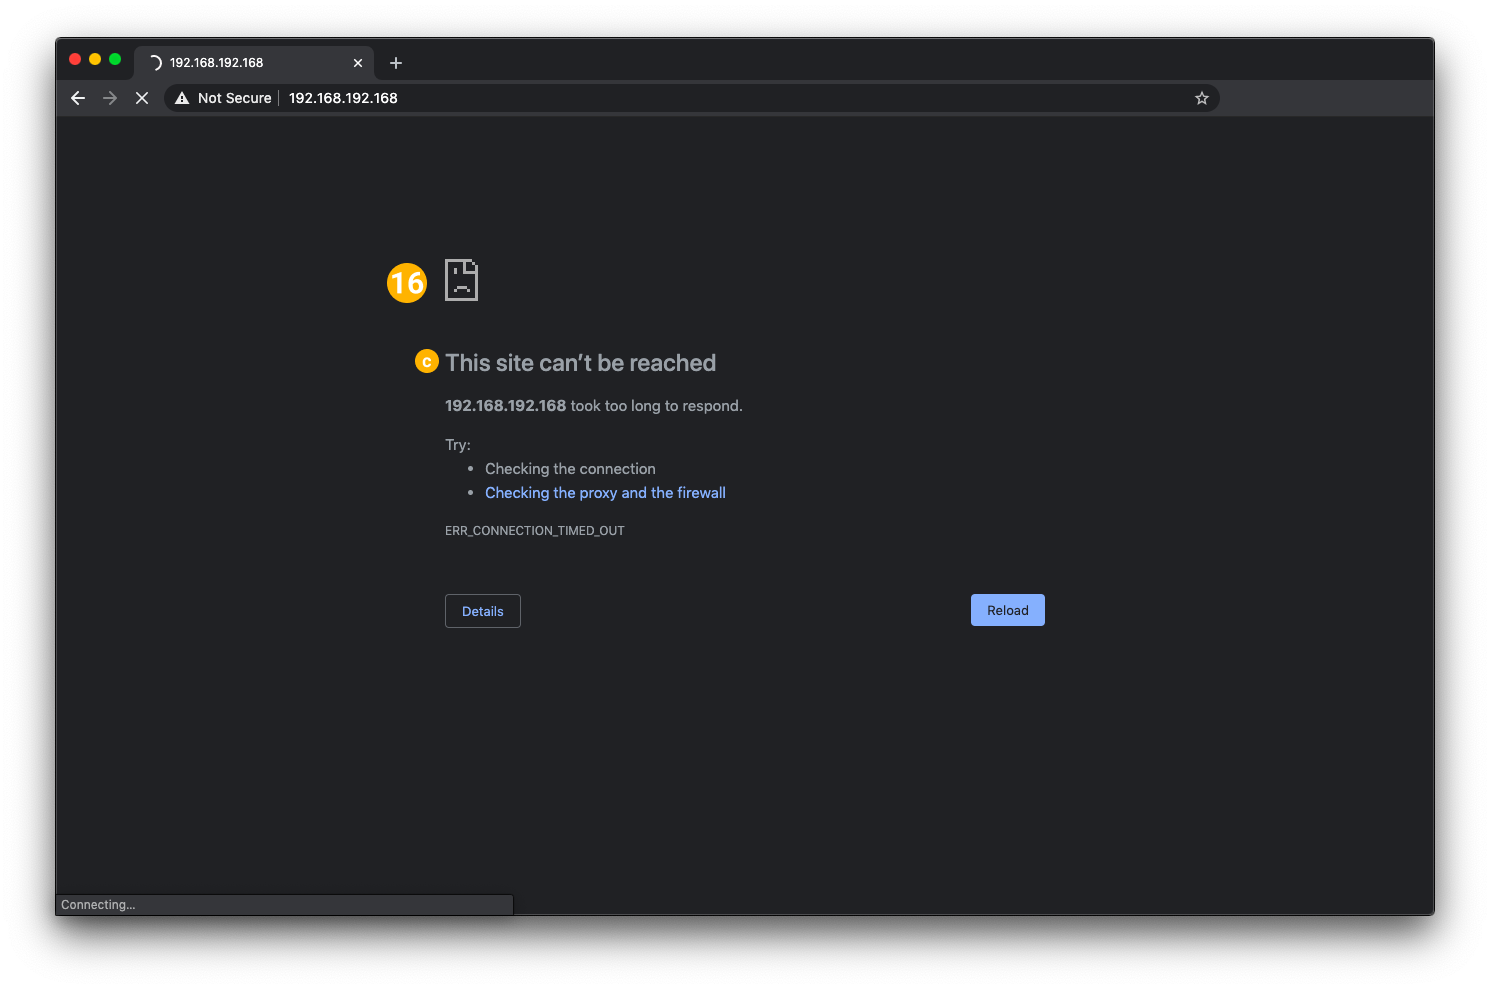
 Use a web browser to access the printer's configuration page. Make sure your device is connected to the same WiFi network that the printer is connected to.

  1. Open a web browser

 Web_Config_01.png

  1. Enter the IP address of the printer (192.168.192.168) into the address bar

 Web_Config_02.png

  1. Should see a page with message “Your connection is not private”

    Do not worry! This is expected!

  2. Select Advanced from the bottom left

Web_Config_03.png 


  1. Select Proceed to 192.168.192.168 (unsafe)

Web_Config_04.png 

  1. Enter into the Authentication Required or Sign In prompt:

    Username
    : epson
    Password: epson

    On newer models the password is the serial number of the printer displayed on the sticker.

 Web_Config_05.png

  1. Welcome to the EpsonNet Config!

 Web_Config_06.png

  1. Under the Configuration header of the left navigation, select TCP/IP

 Web_Config_07.png

  1. Under IP Address Settings, Change Acquiring the IP Address to Manual

 Web_Config_09.png

  1. Enter the desired IP address for the printer

    a. IP Address
    b. Subnet Mask
    c. Default Gateway

  2. Set Using Automatic Private IP Addressing (APIPA) to Disabled

  3. Set IP Address Using ARP + Ping to Disabled

Web_Config_12.png 

  1. Review IP information for accuracy

  2. Select Send

Web_Config_13.png 

  1. Select Reset (Printer should make a mechanical clunking sound)

 Web_Config_14.png

  1. One or more of the following three pages may display. All are signs of success!

    a. Please Wait
    b. A network change was detected
    c. This site can’t be reached

 Web_Config_15.png

Web_Config_16.png

Web_Config_17.png

  1. Print a Network Status Sheet from the device using the Network Status Button on the underside of the printer (see above) to confirm the TCP/IP settings!


Was this article helpful?

That’s Great!

Thank you for your feedback

Sorry! We couldn't be helpful

Thank you for your feedback

Let us know how can we improve this article!

Select at least one of the reasons

Feedback sent

We appreciate your effort and will try to fix the article