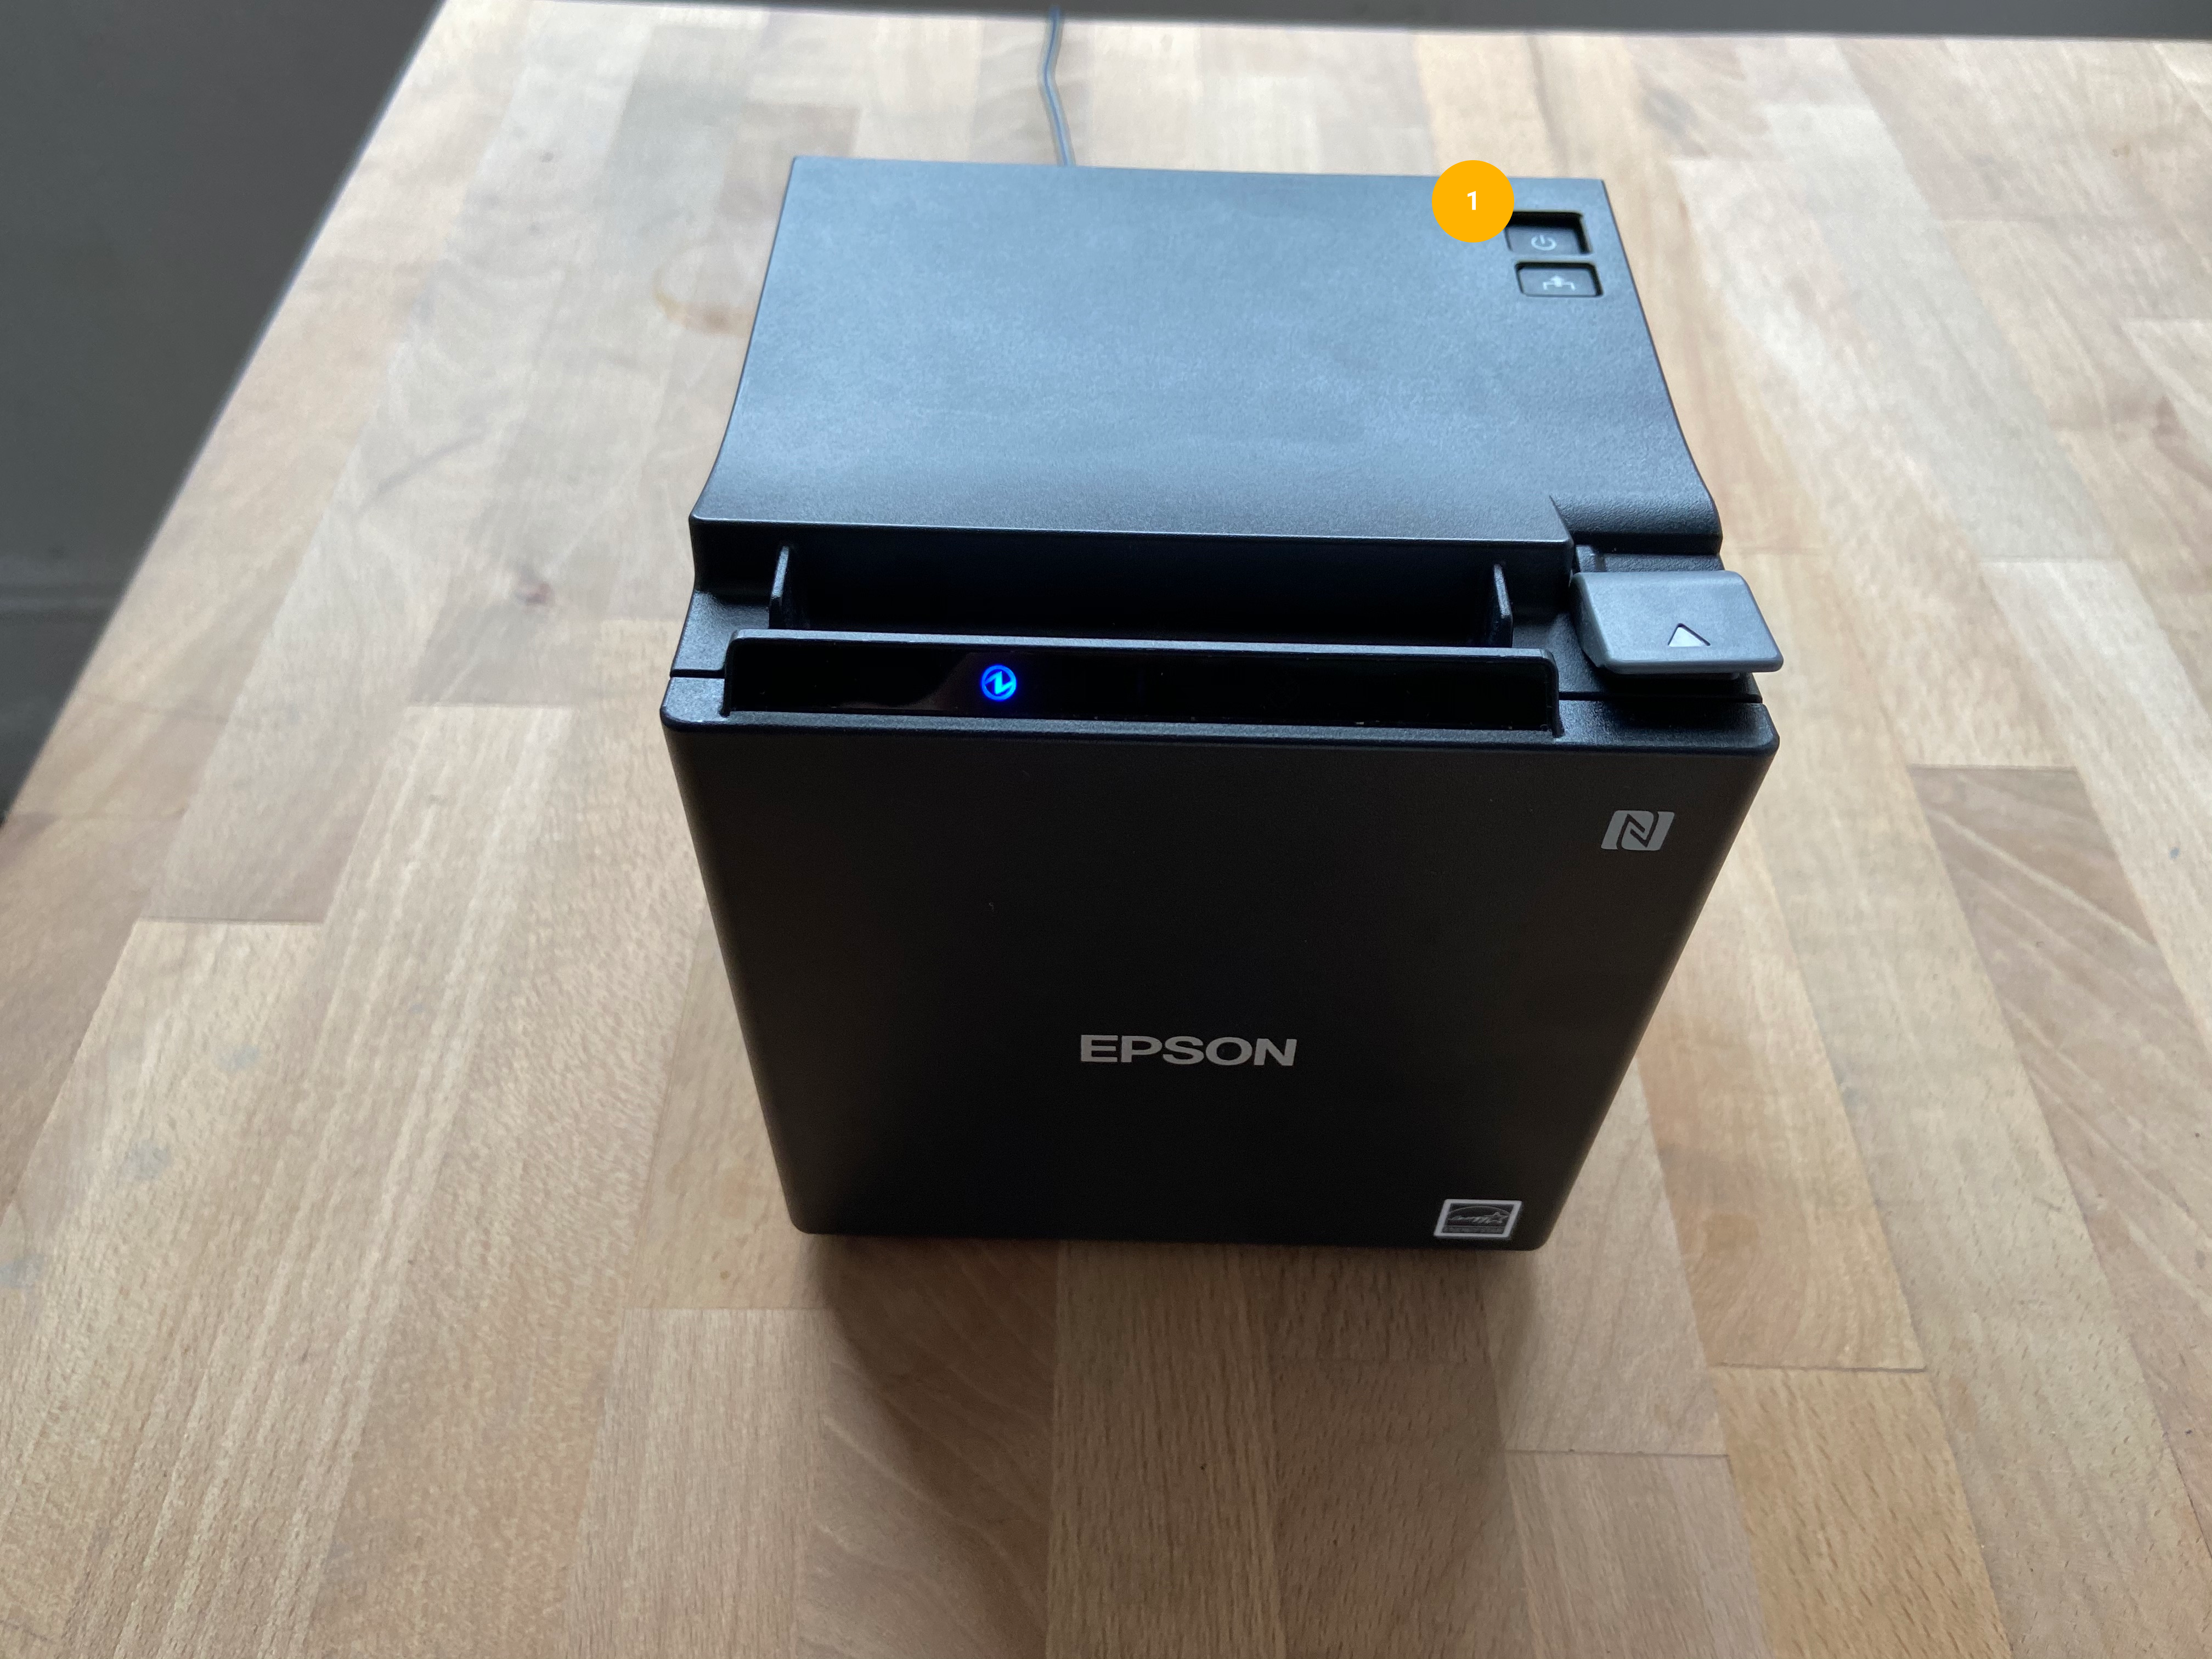
Factory Reset the Epson TM-m30 printer
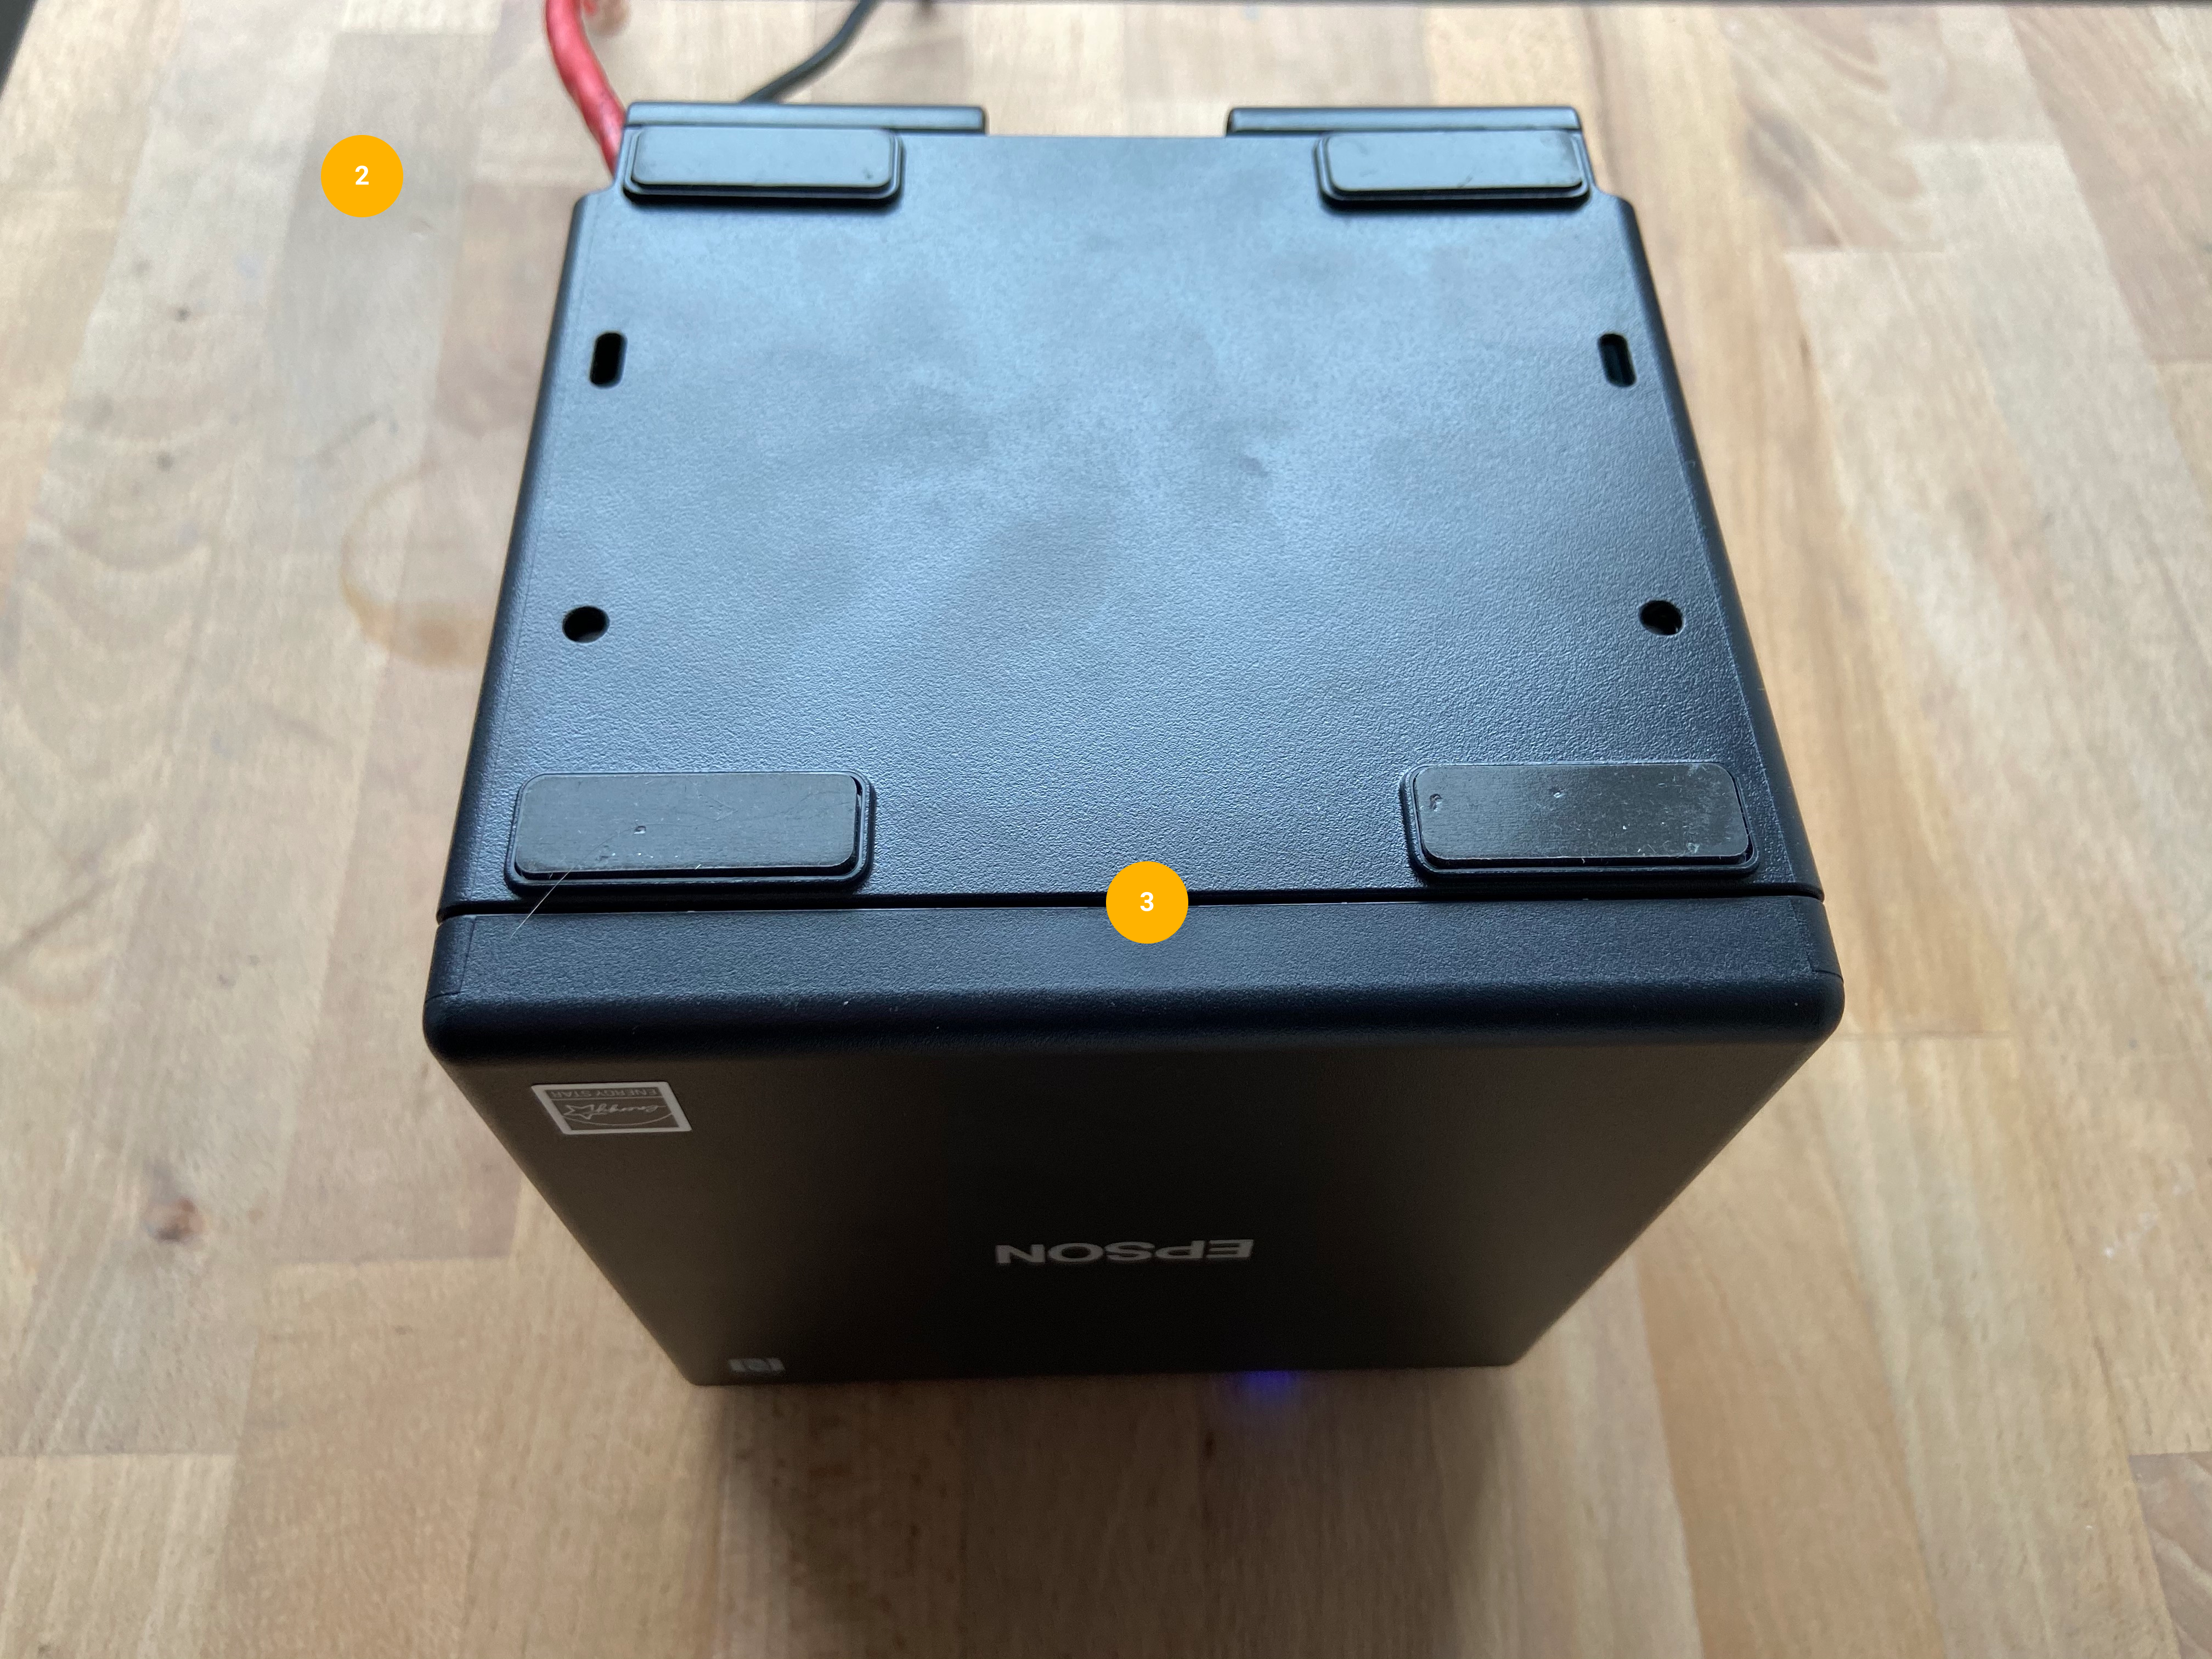
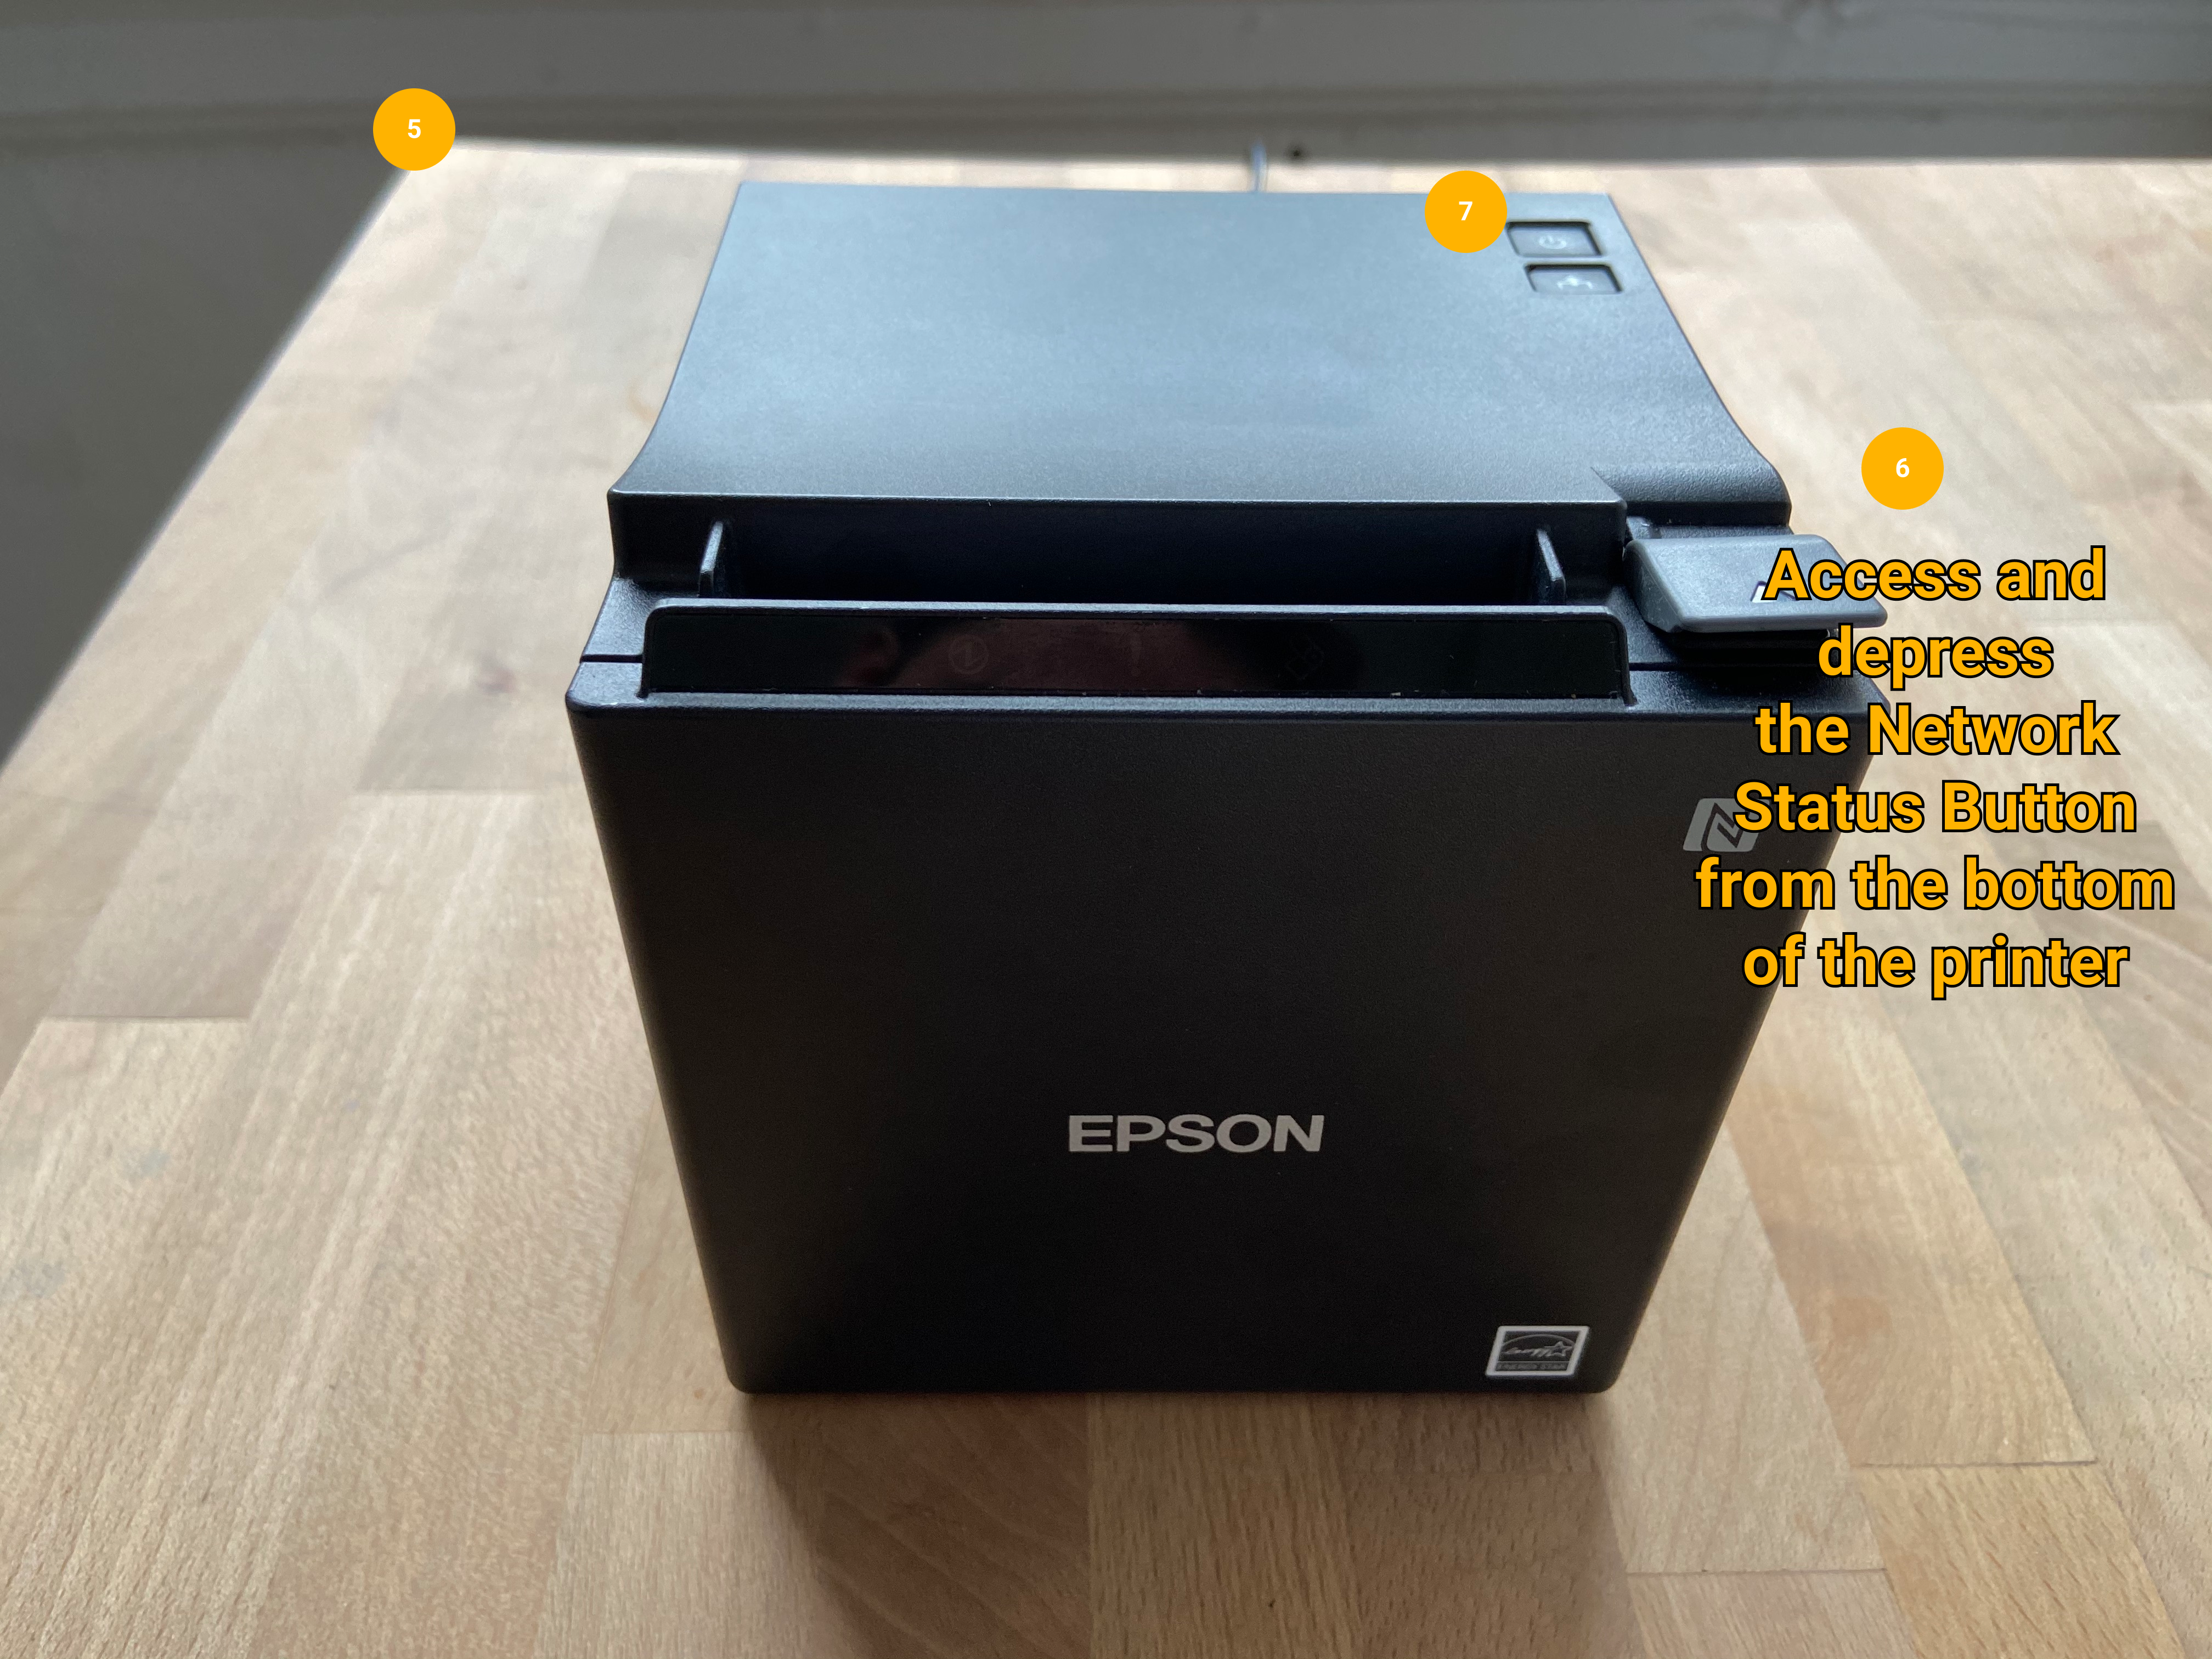
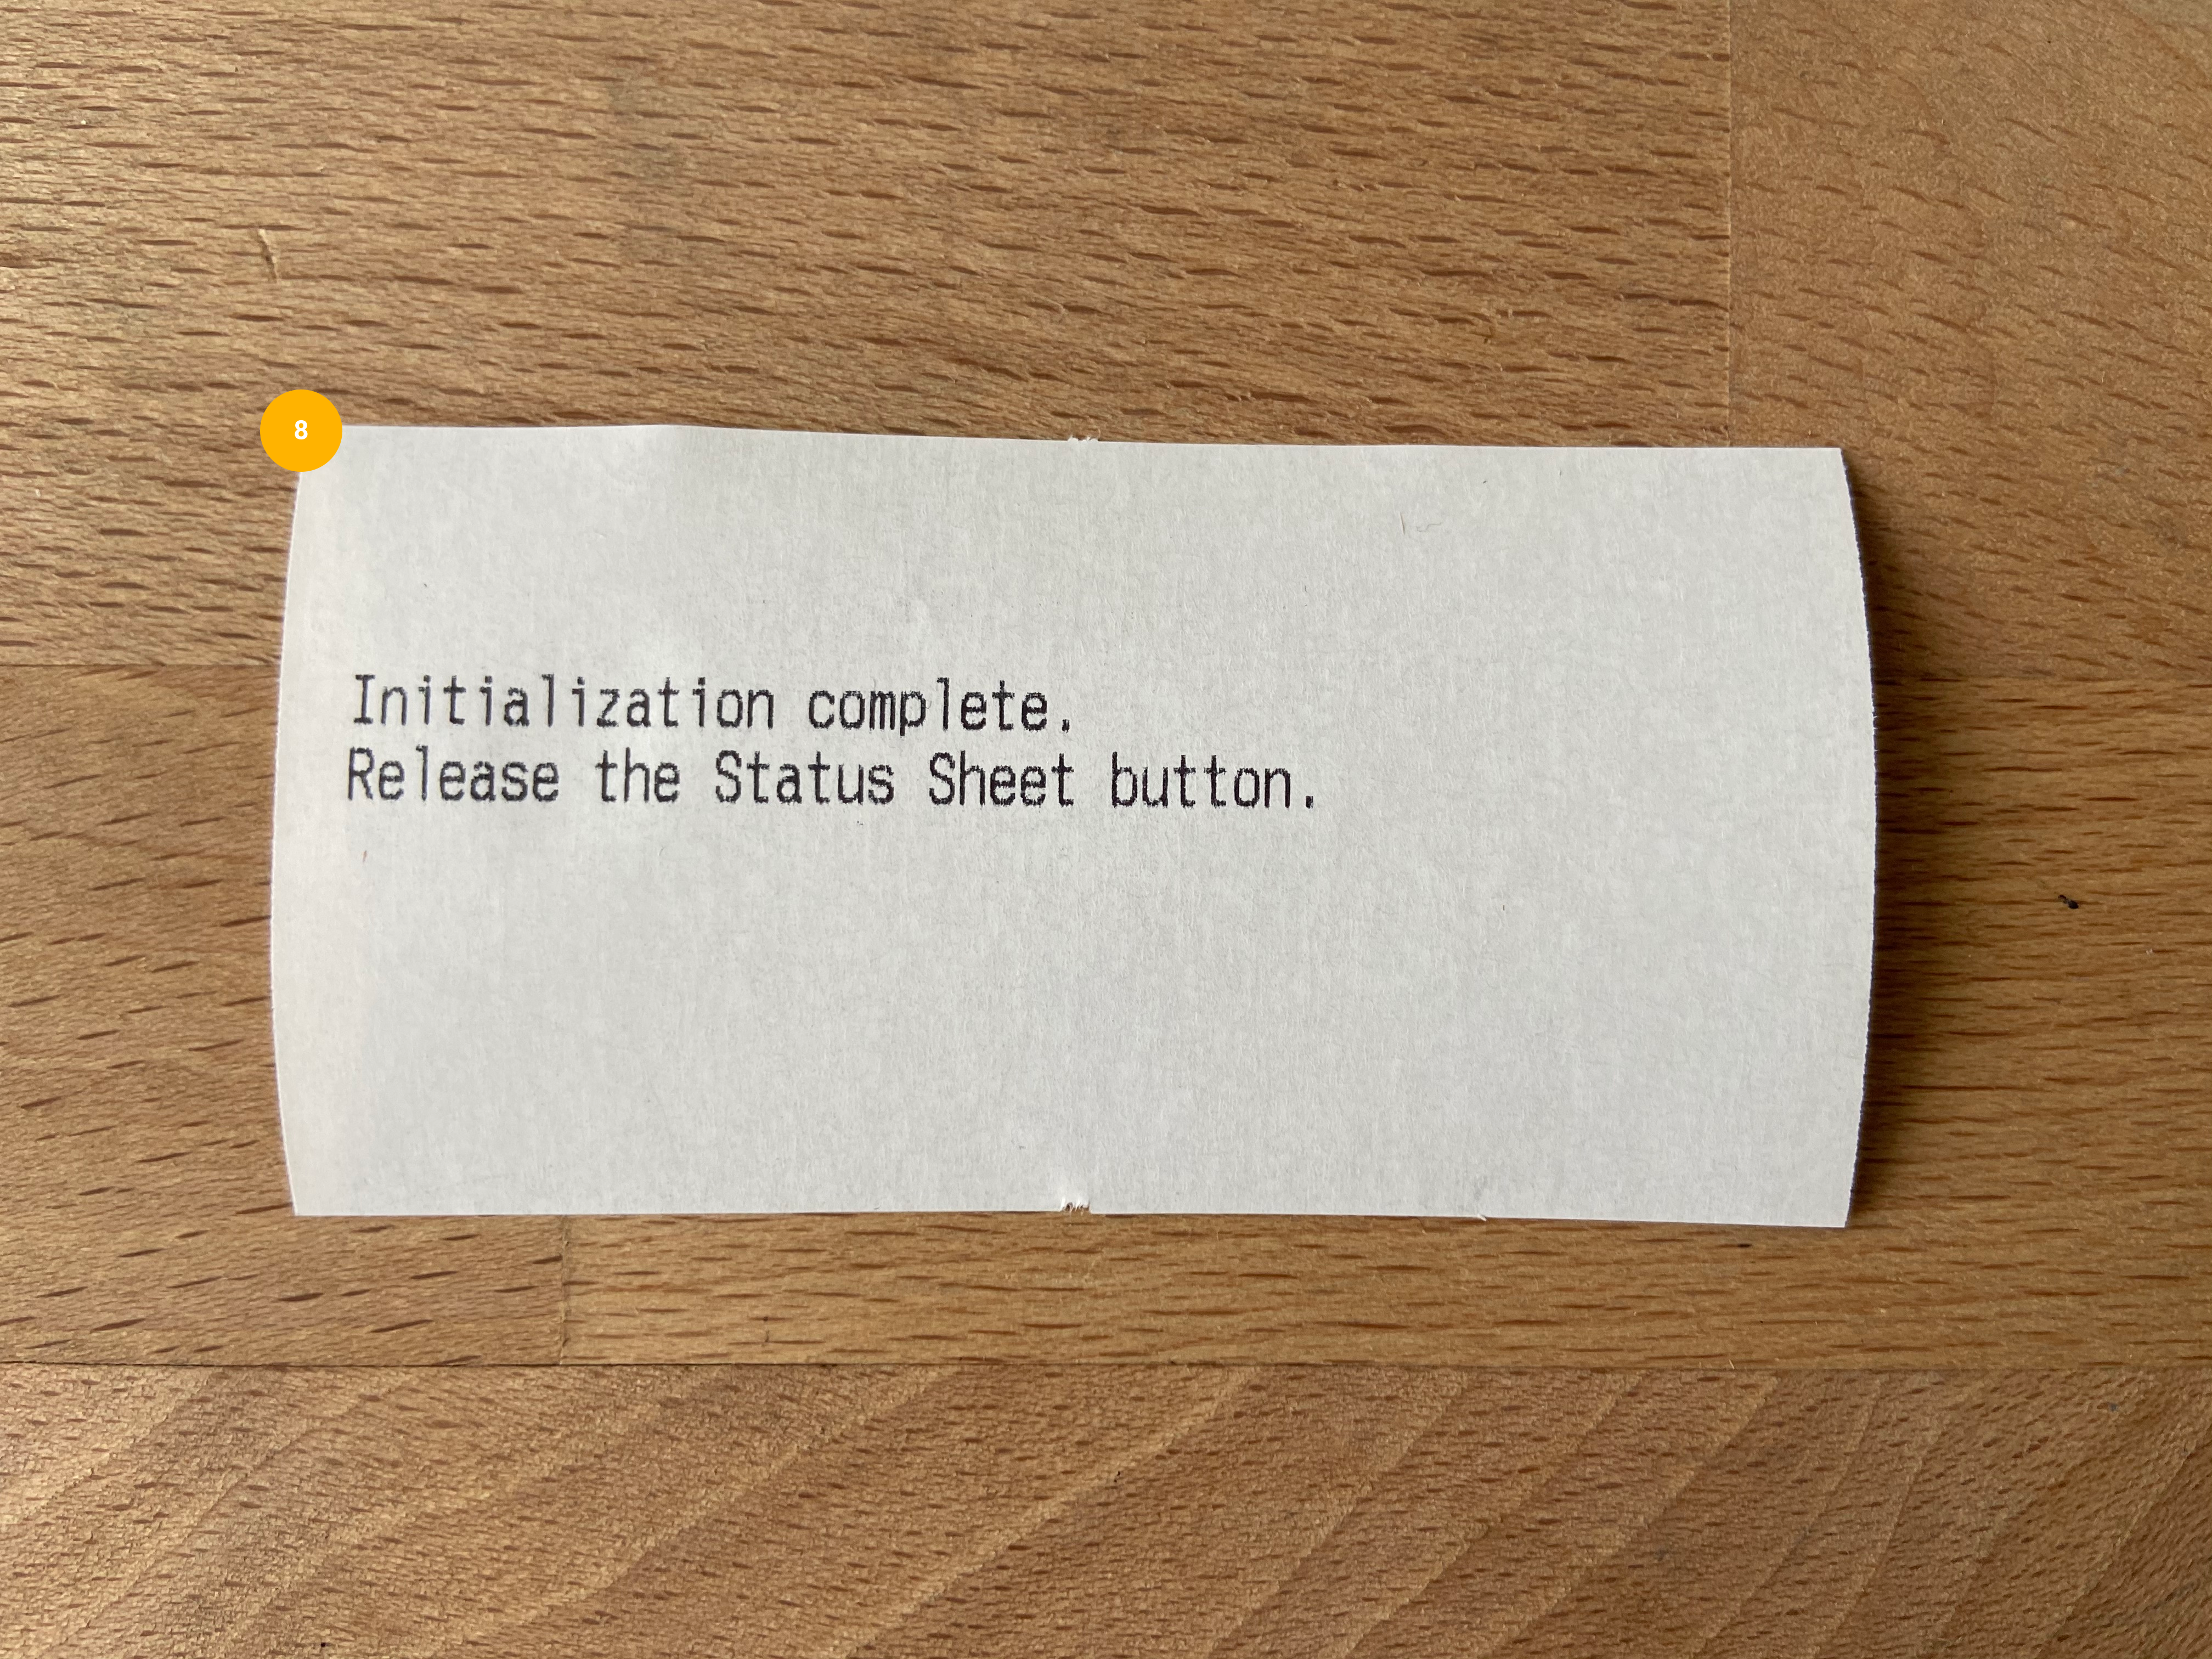
Reset the printer to factory defaults to wipe any existing configurations.
| |
| |
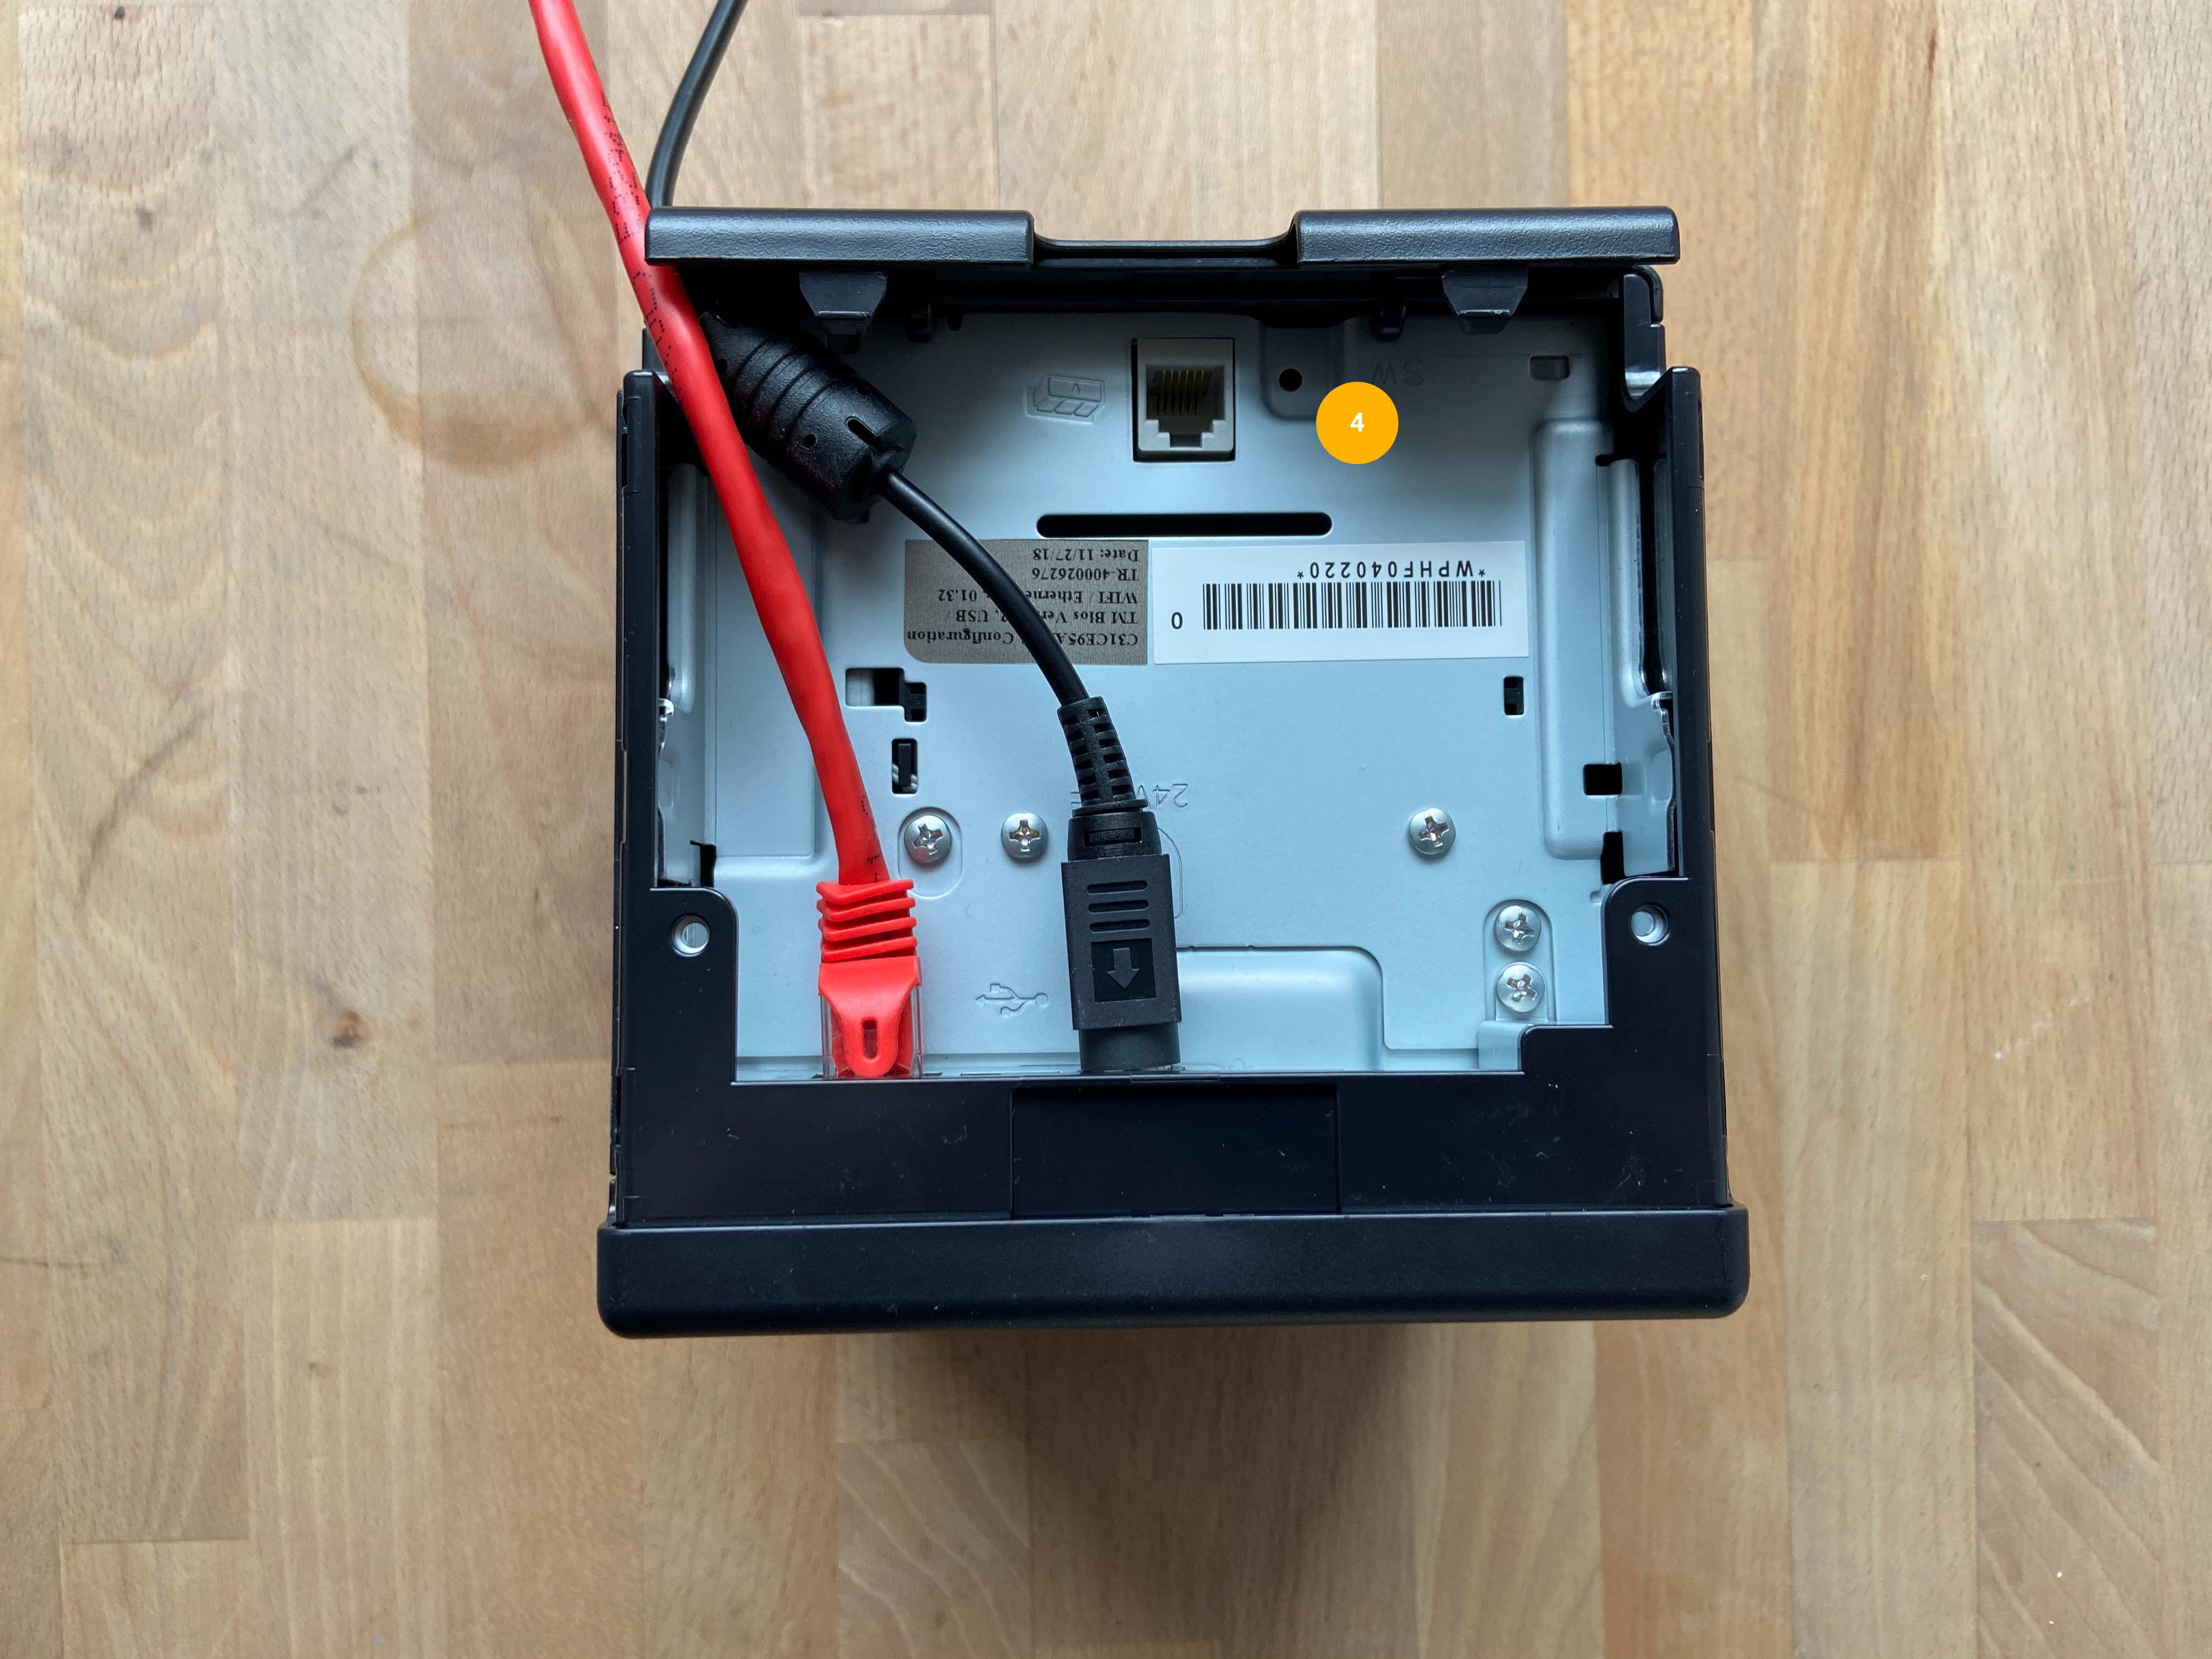
| Wired
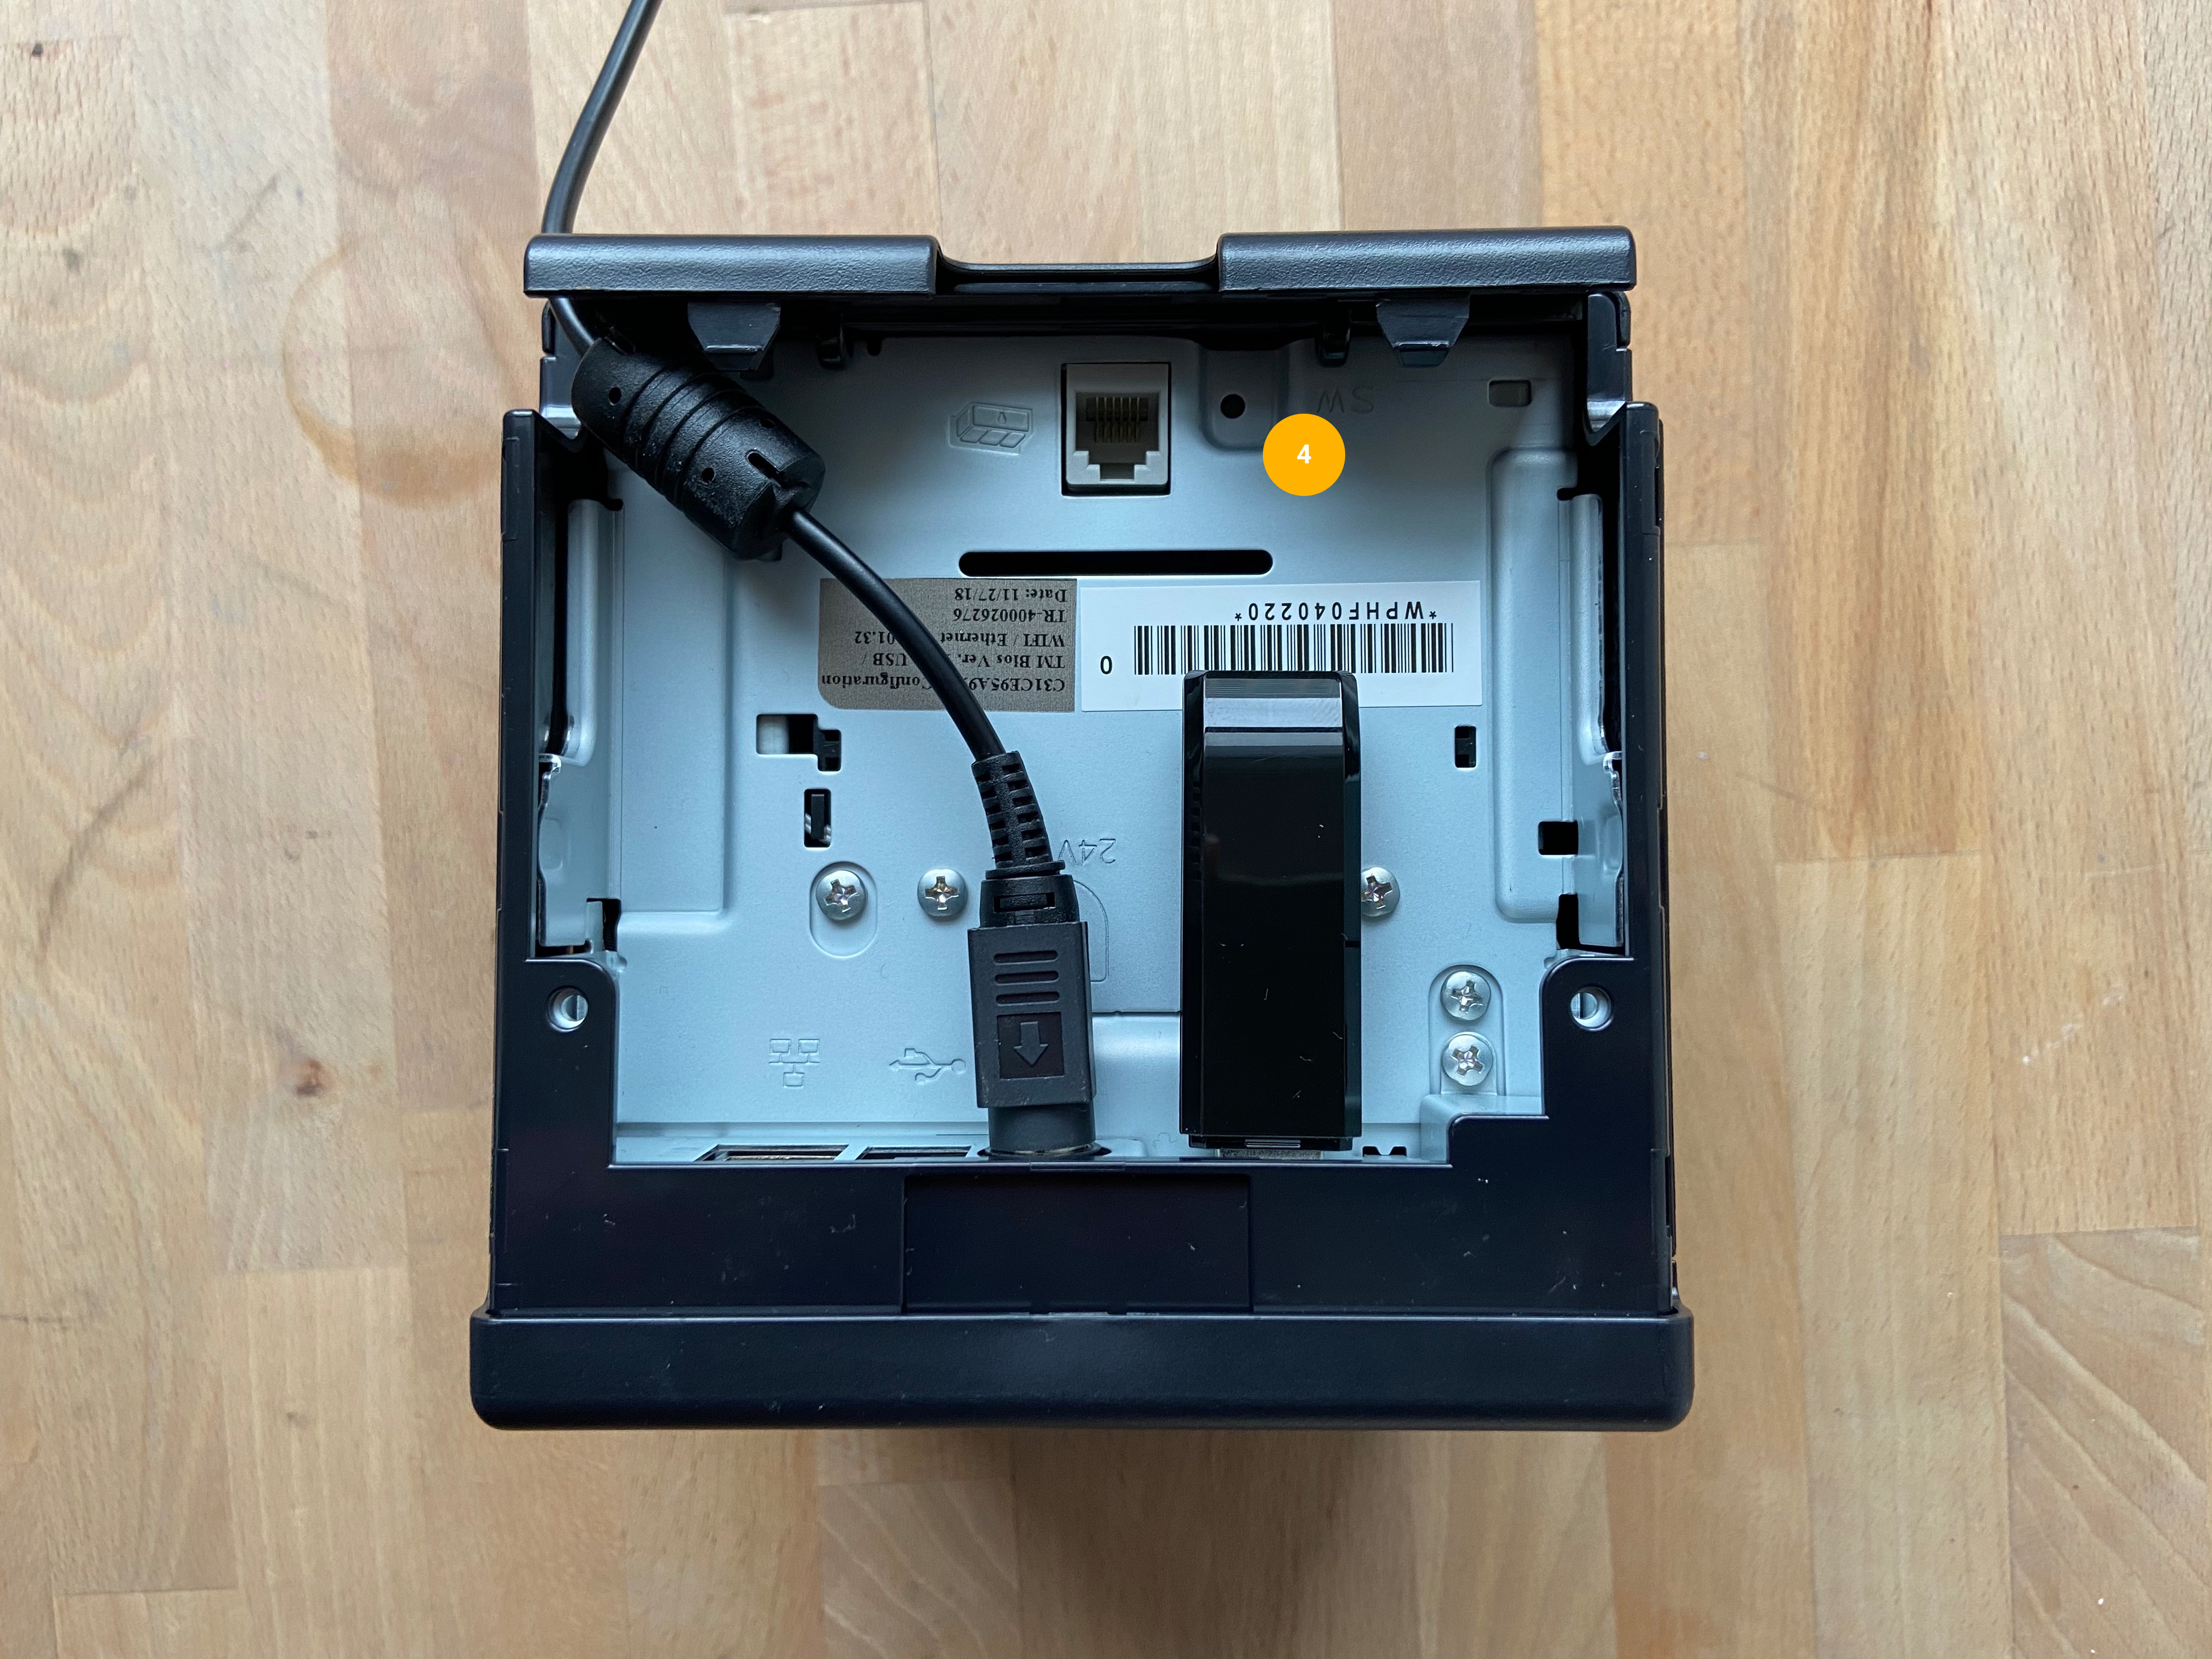
WiFi
|
|
|
|
|
|
|
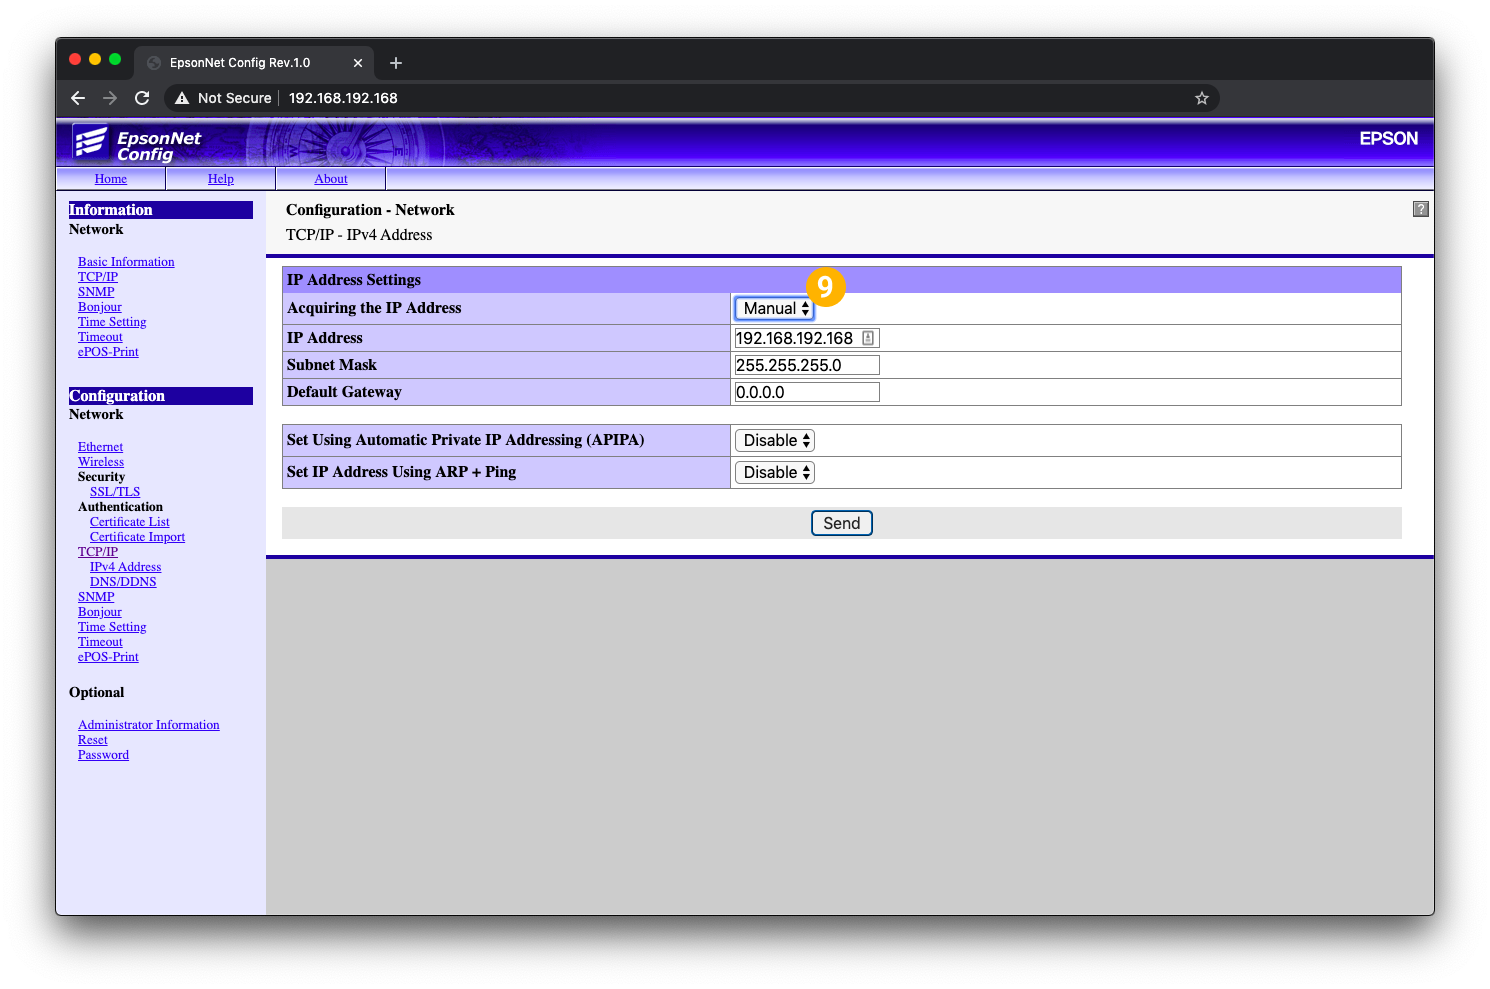
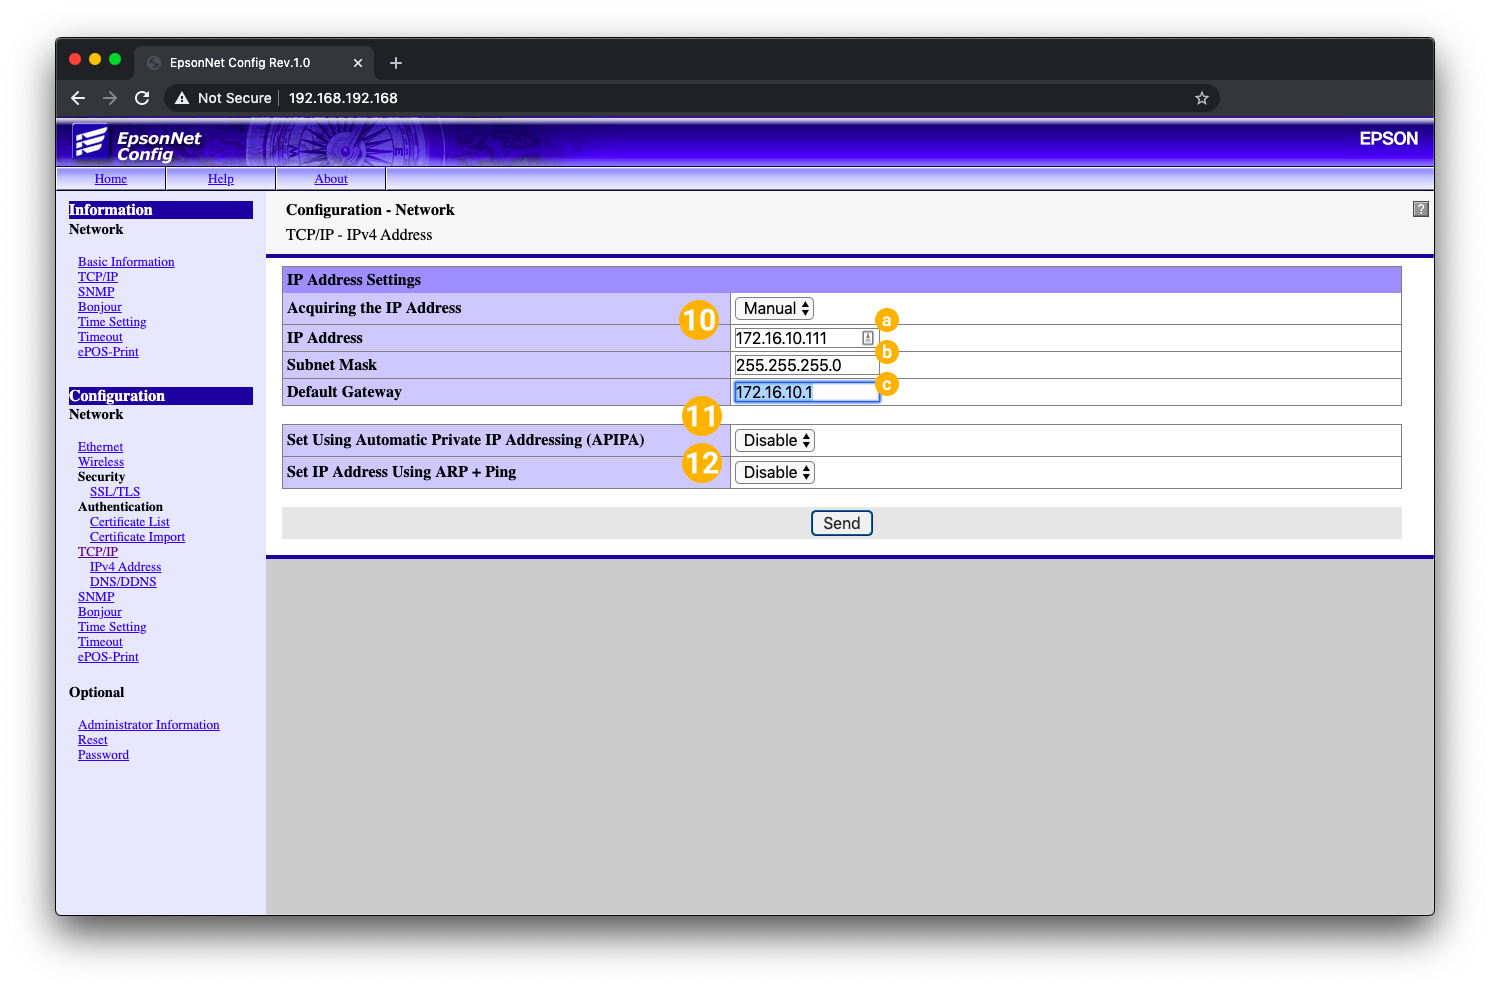
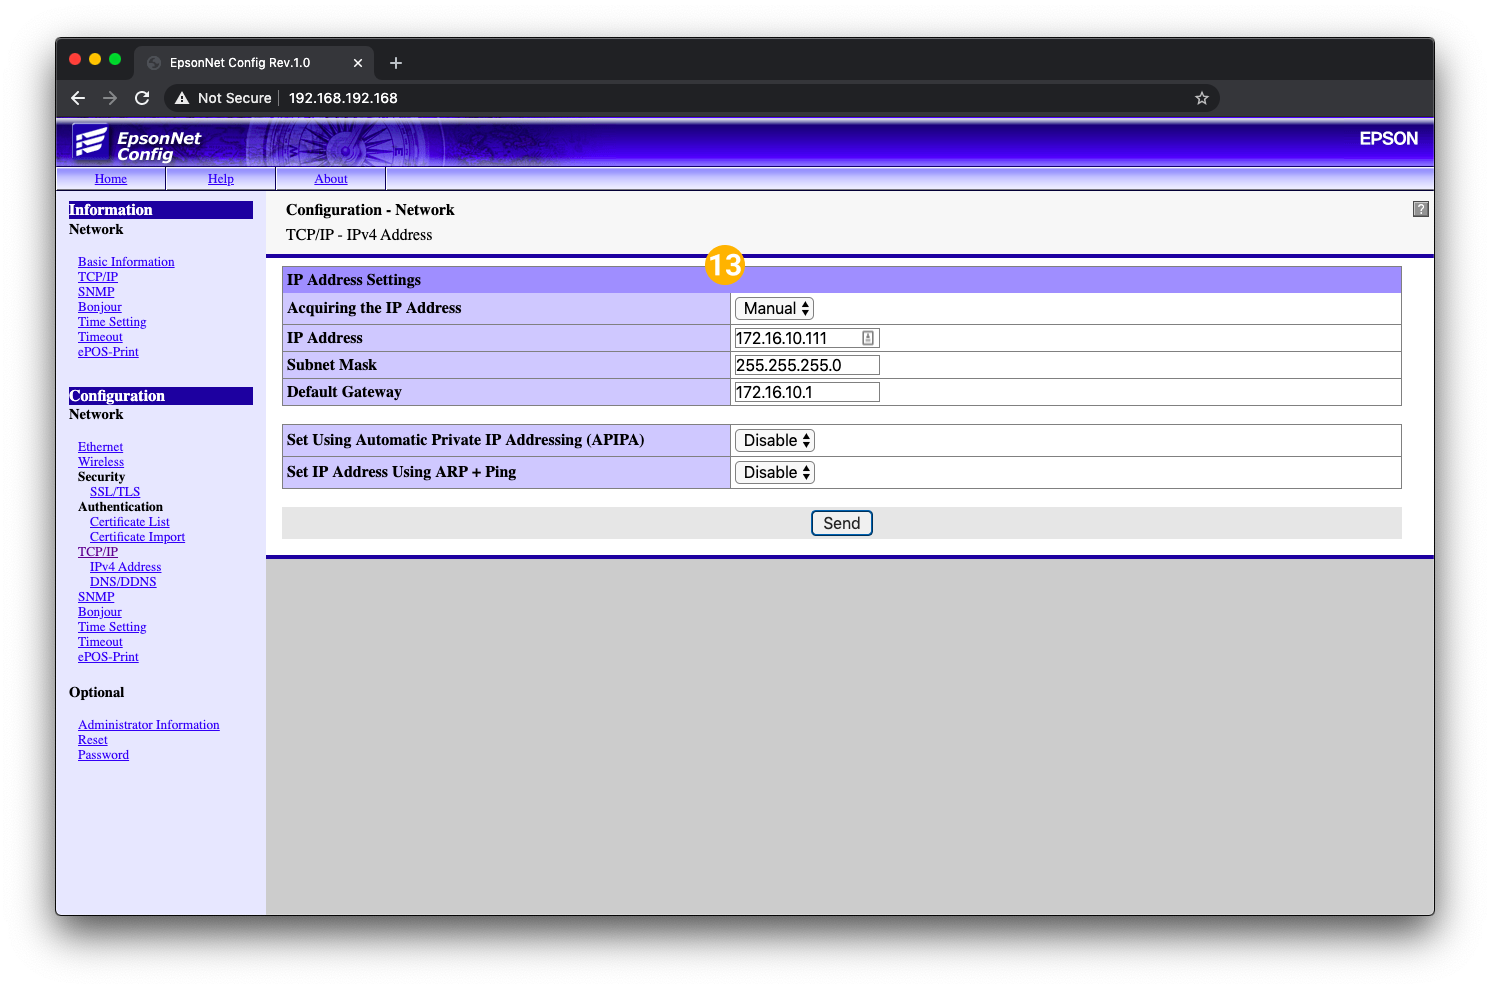
Set a network configuration to the Printer
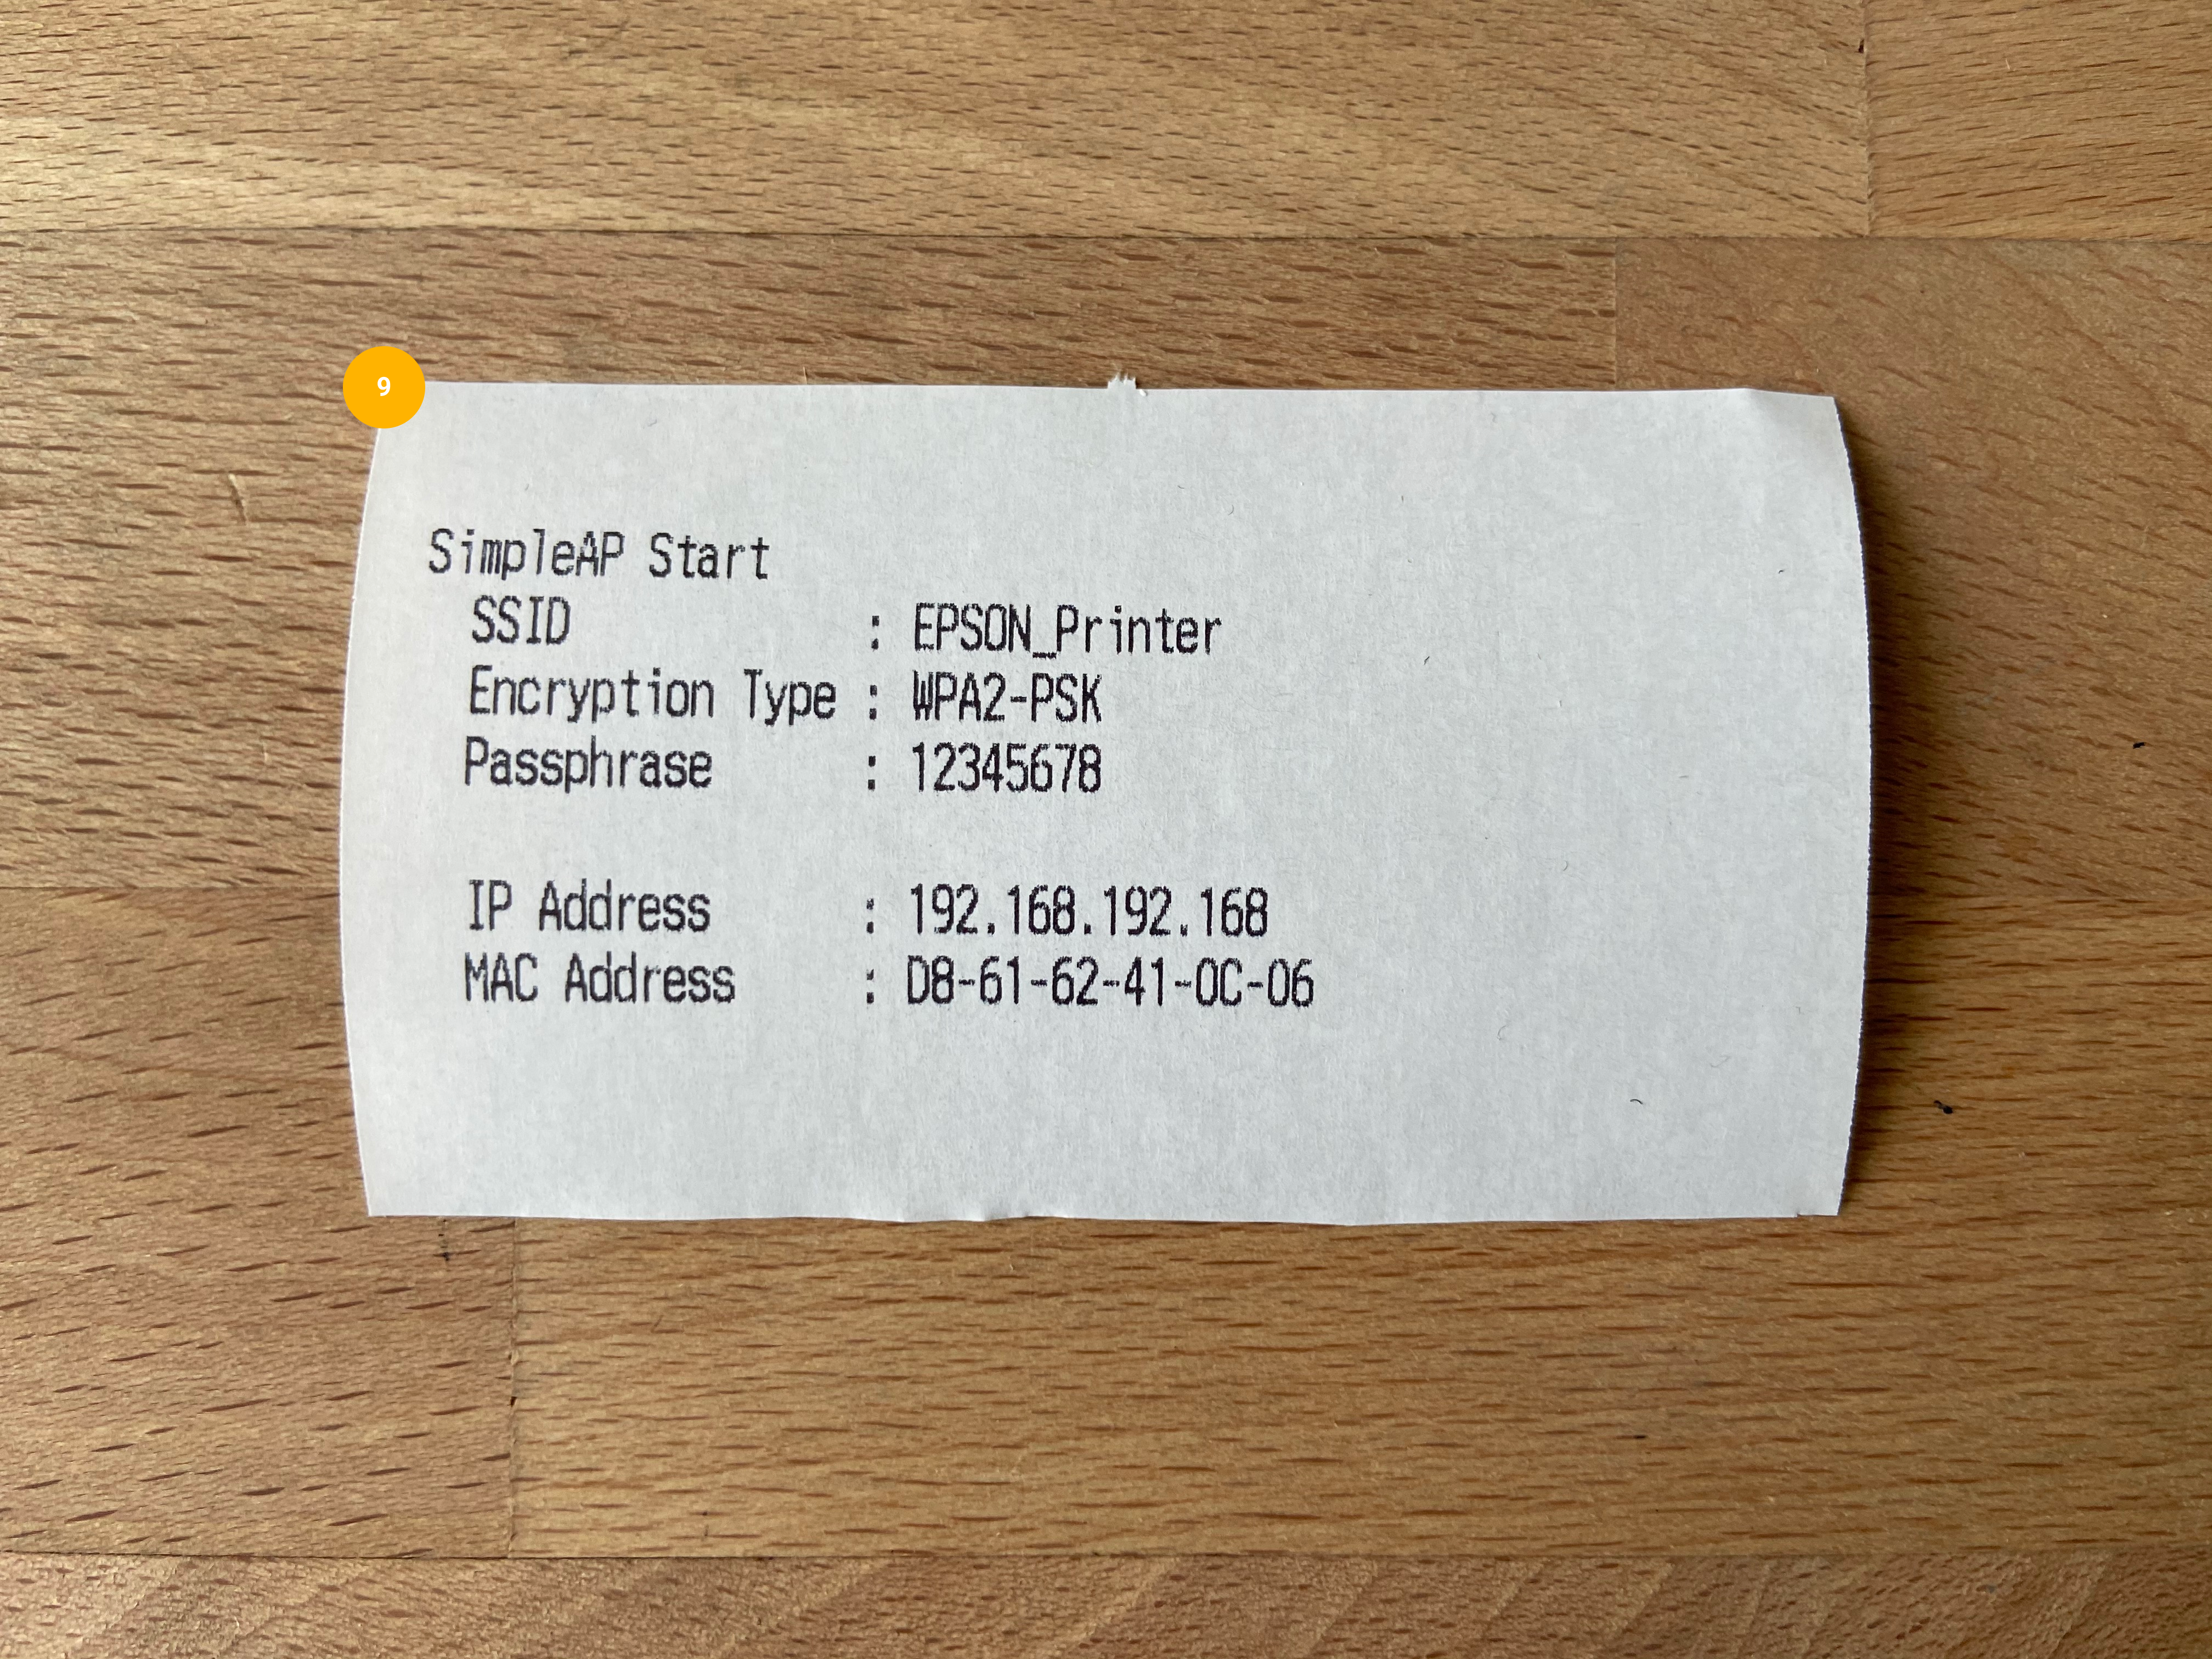
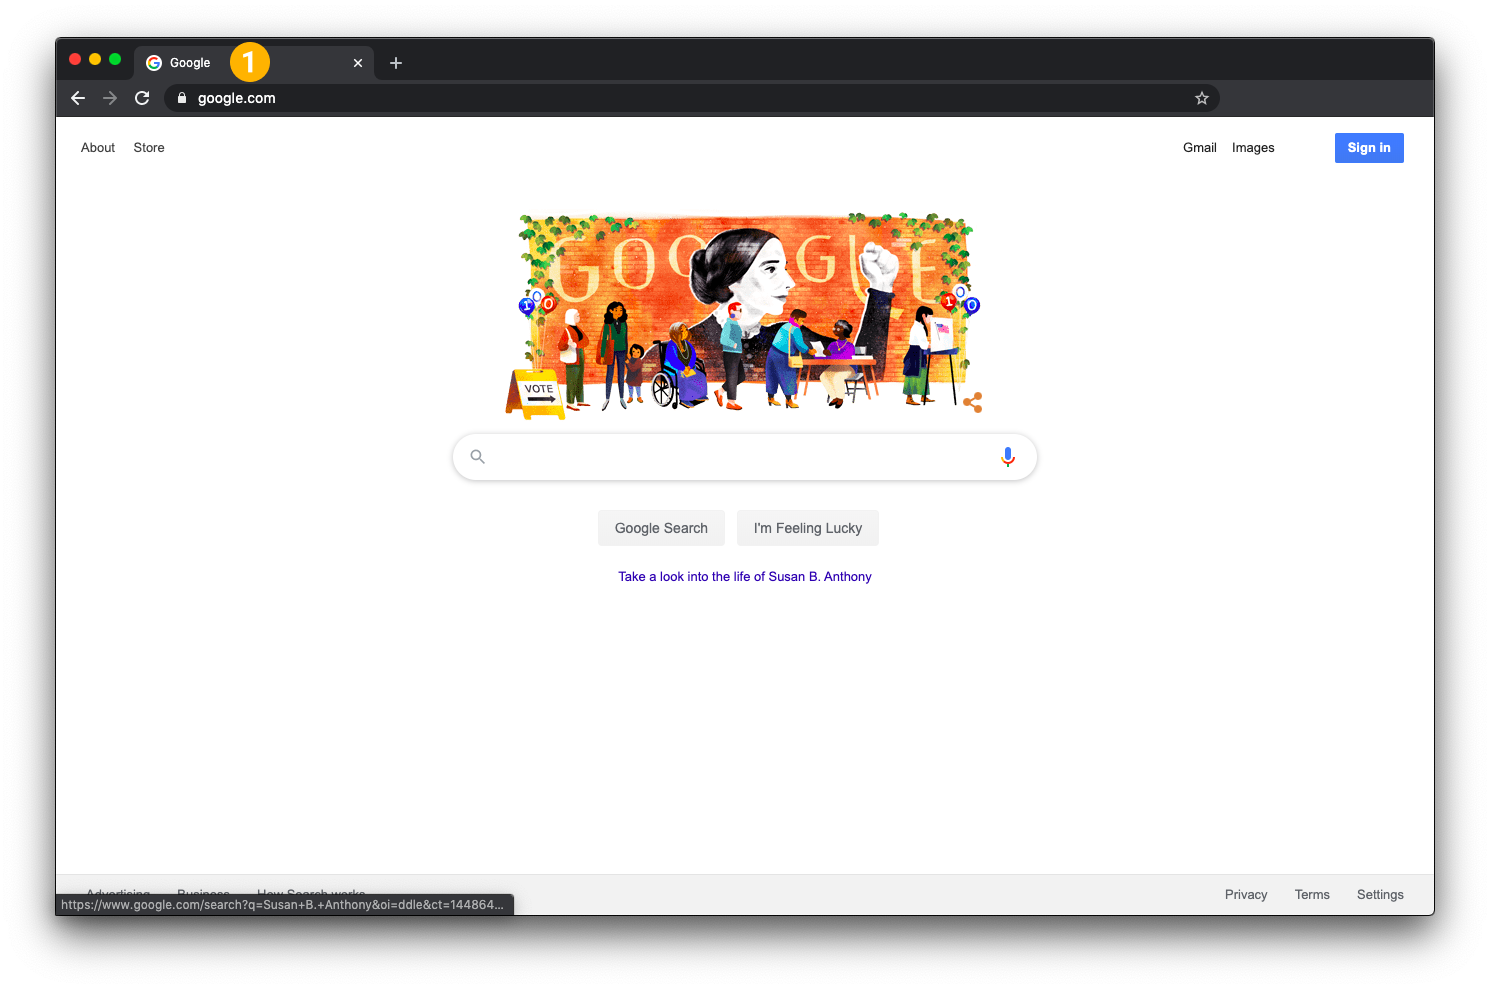
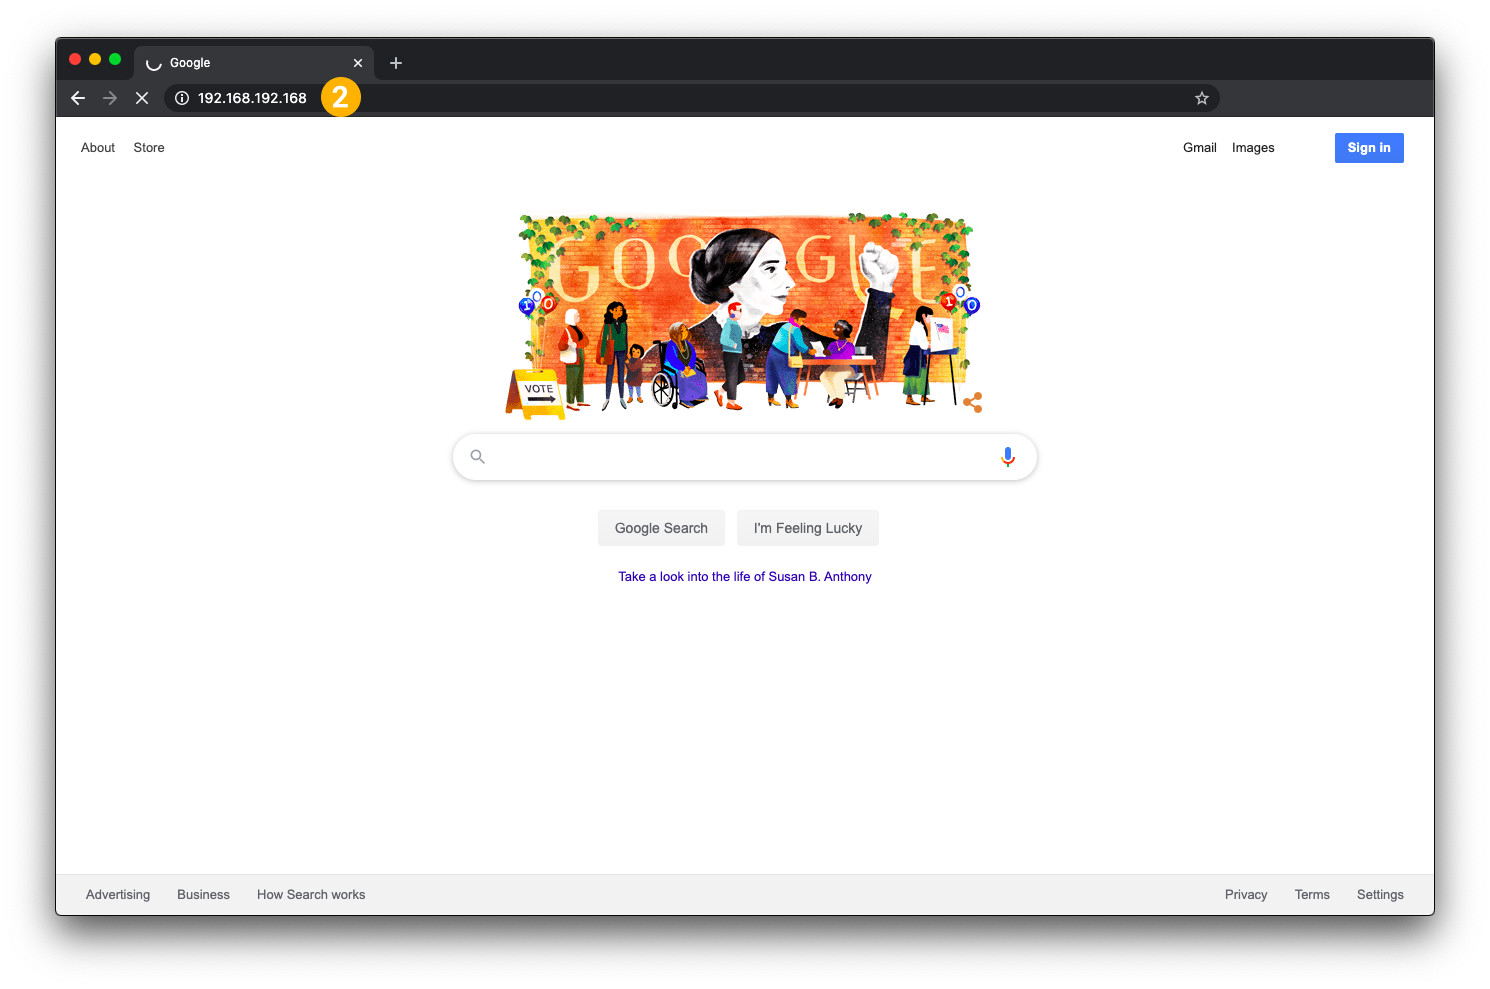
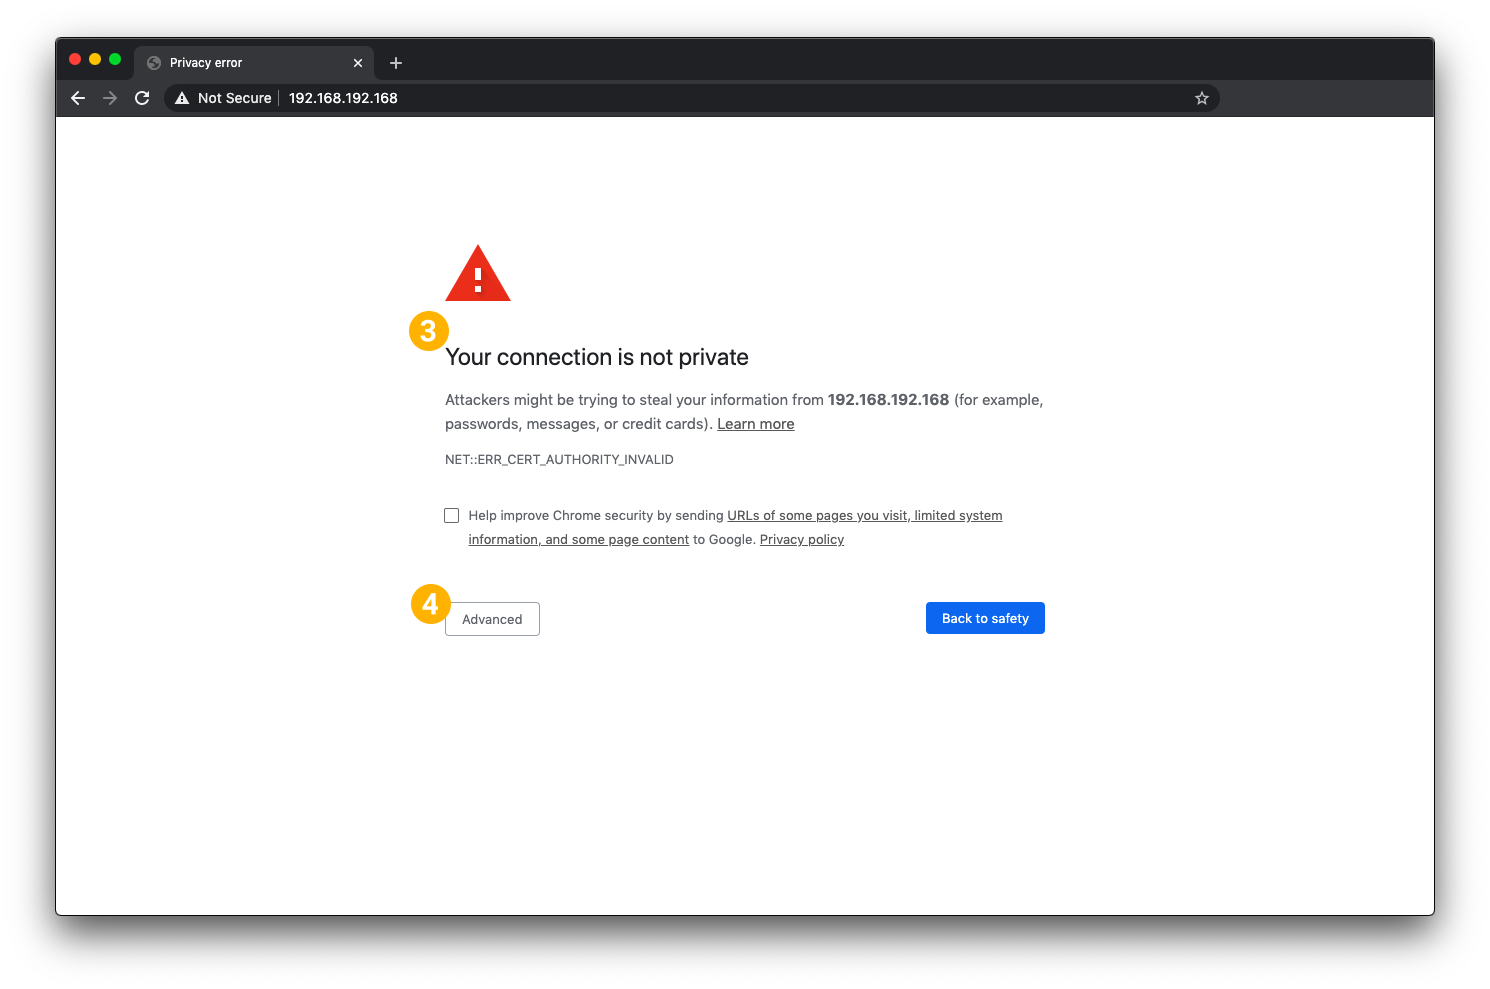
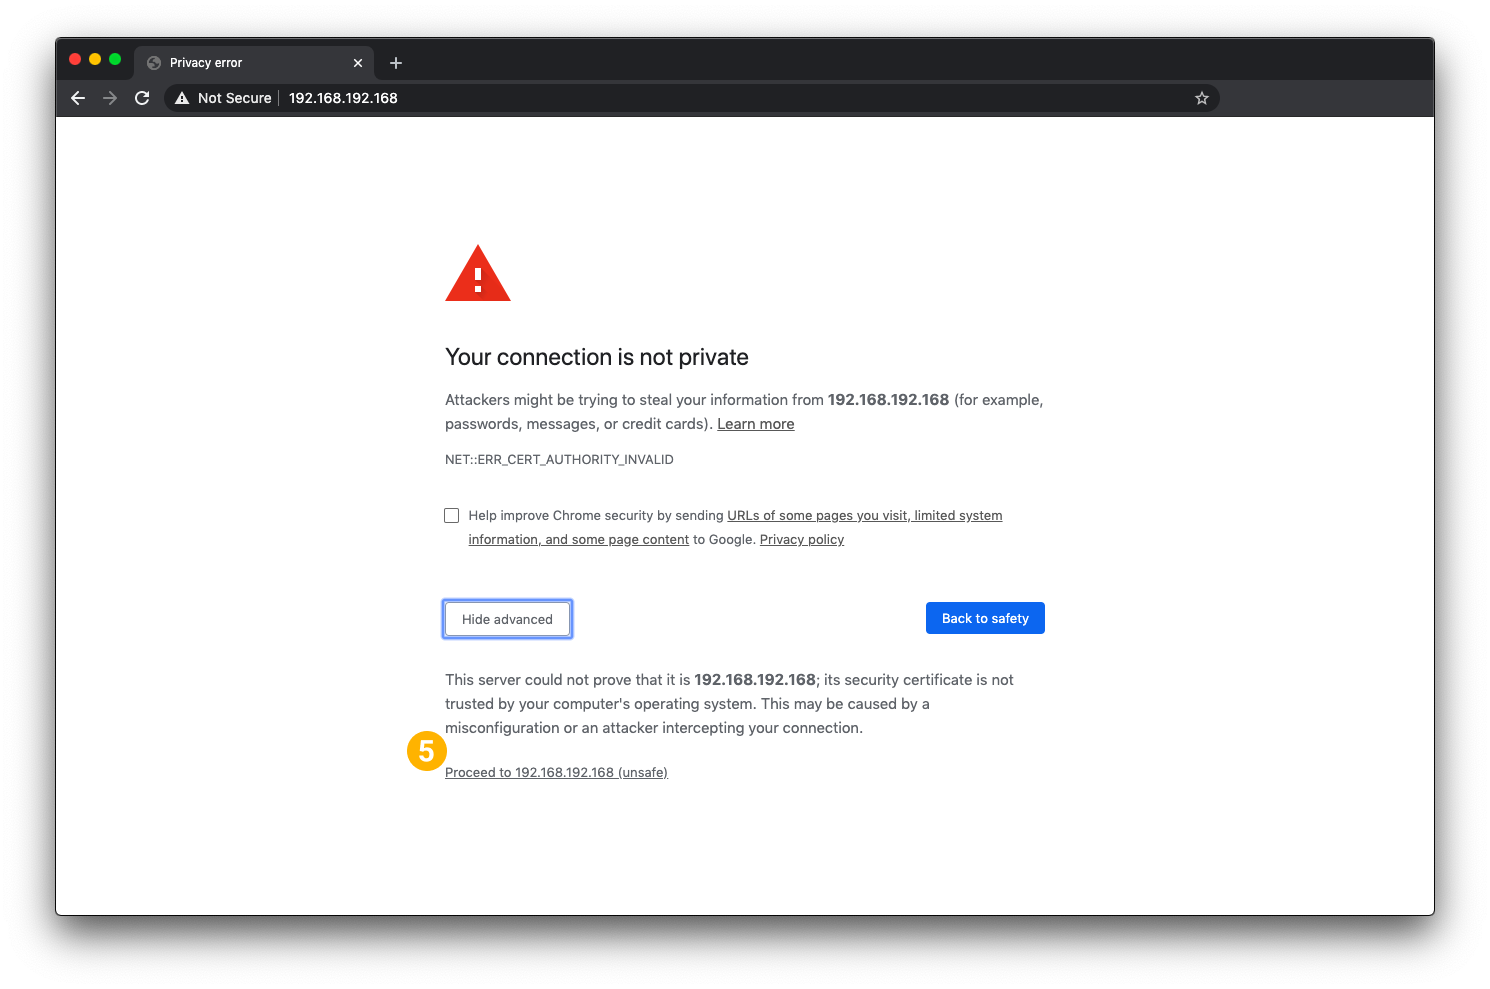
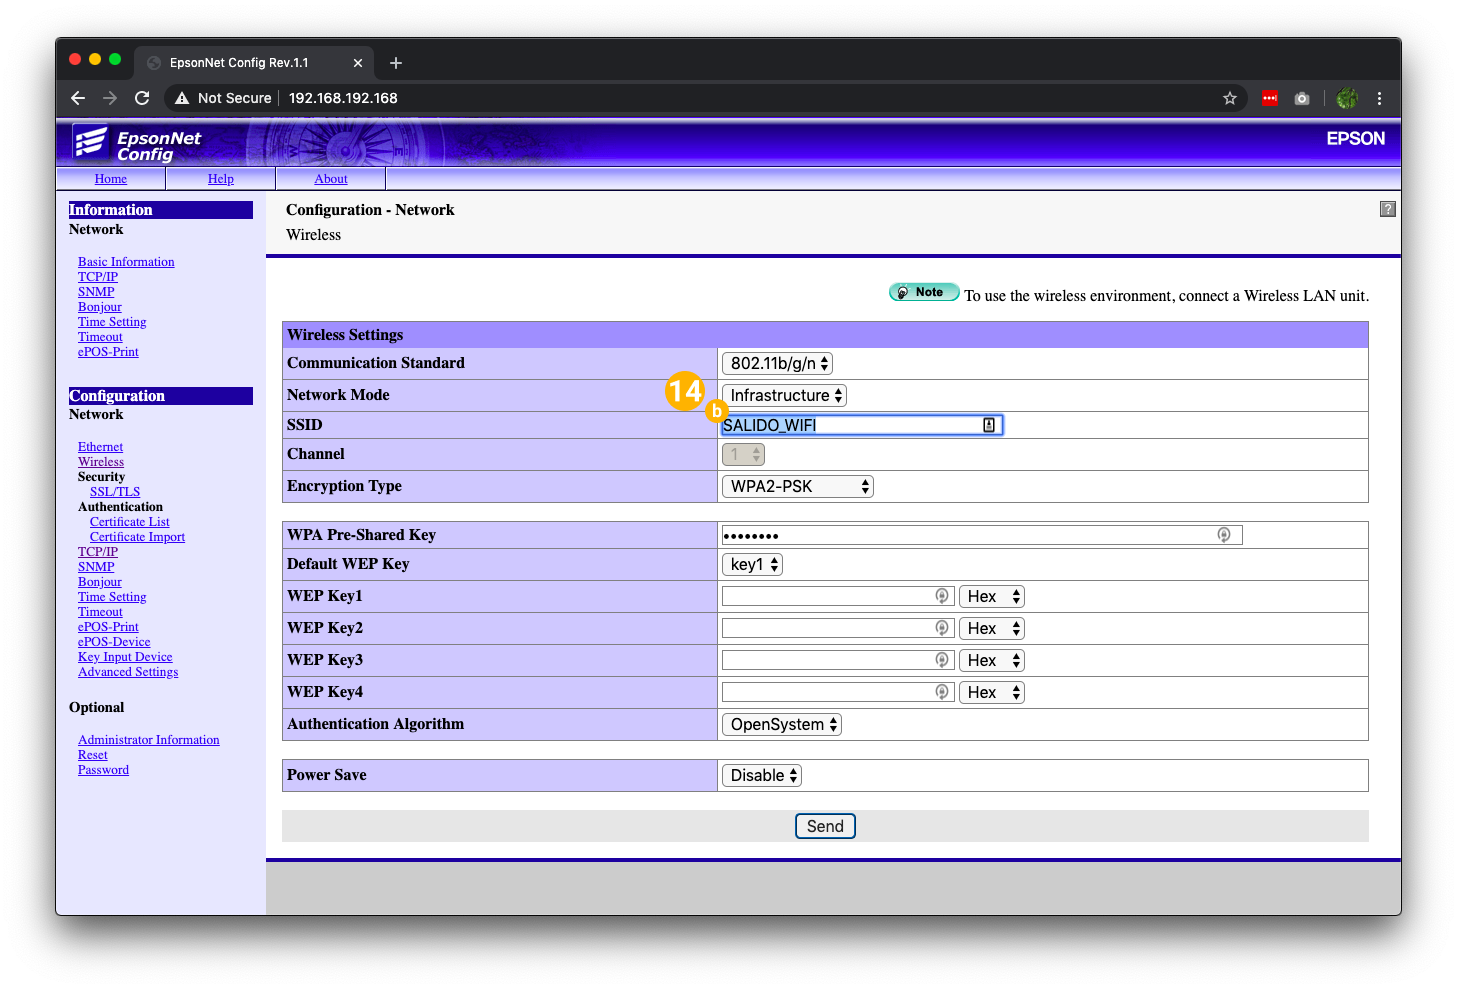
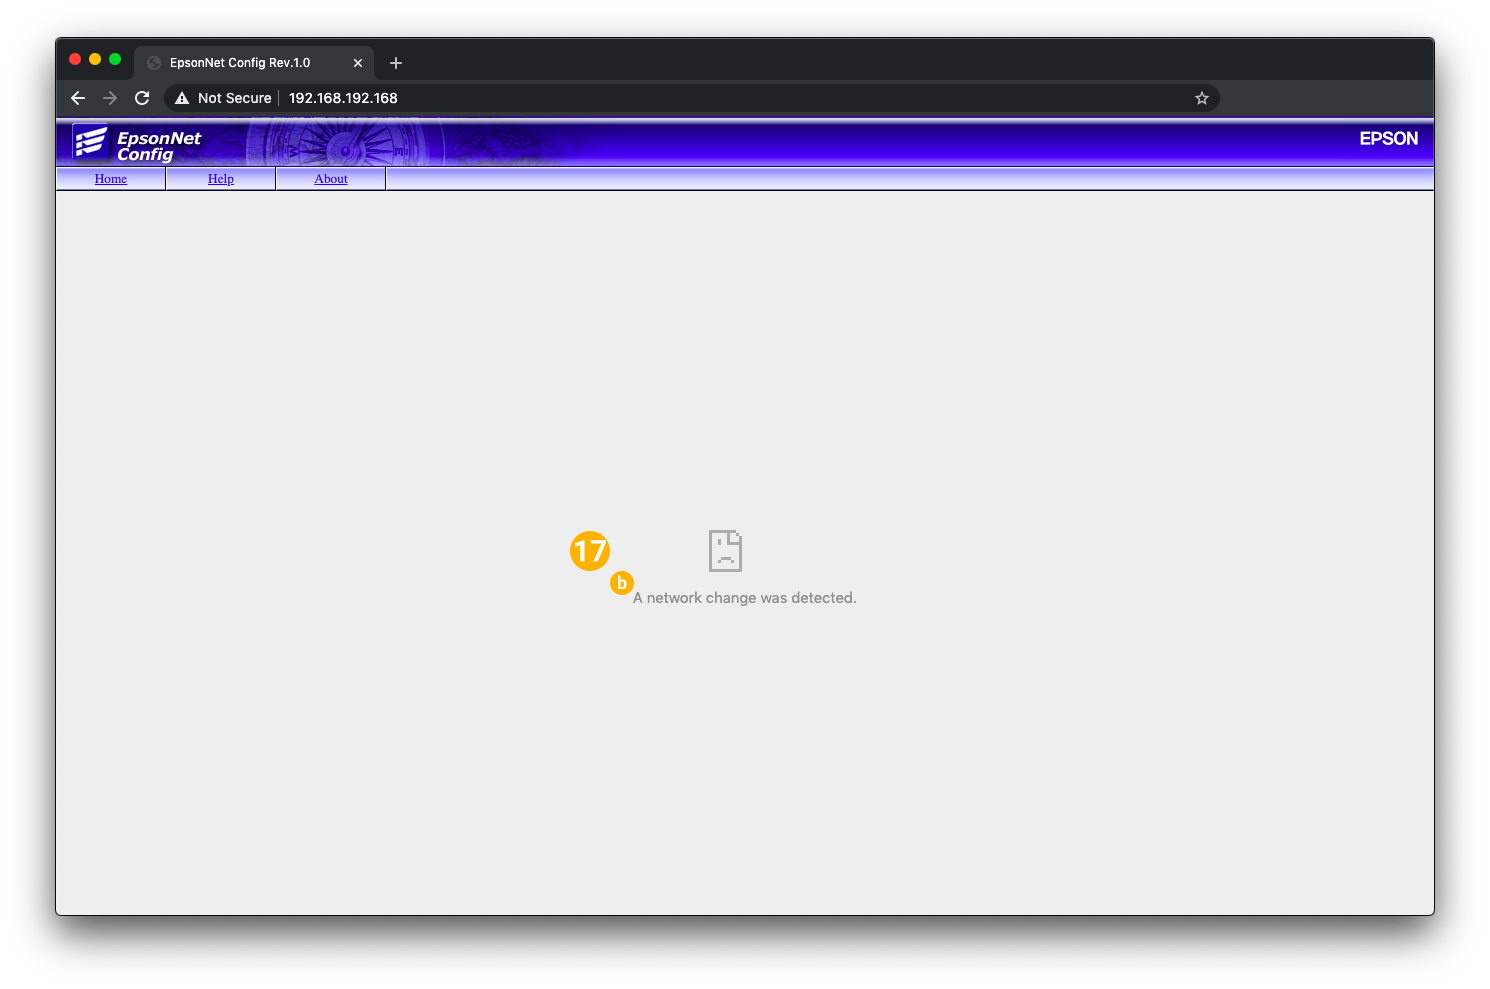
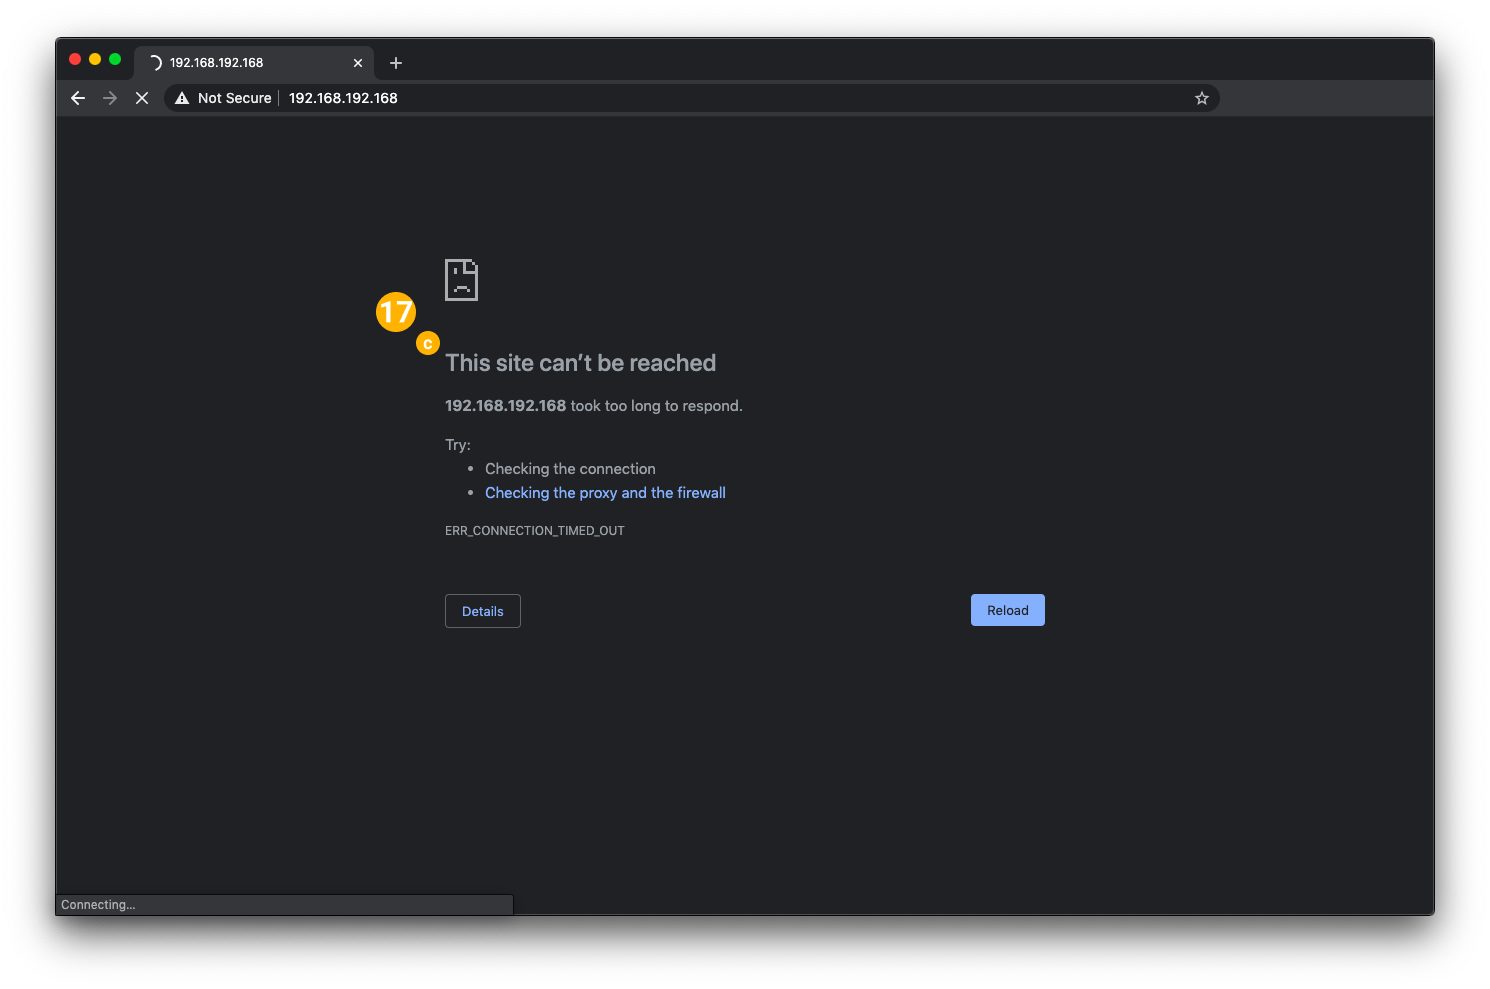
Use a web browser to access the printer's configuration page. Make sure your device is connected the same WiFi network the printer is connected to.
| |
| |
|
|
| |
|
|
| |
| |
| |
| |
|
|
|
|
|
|
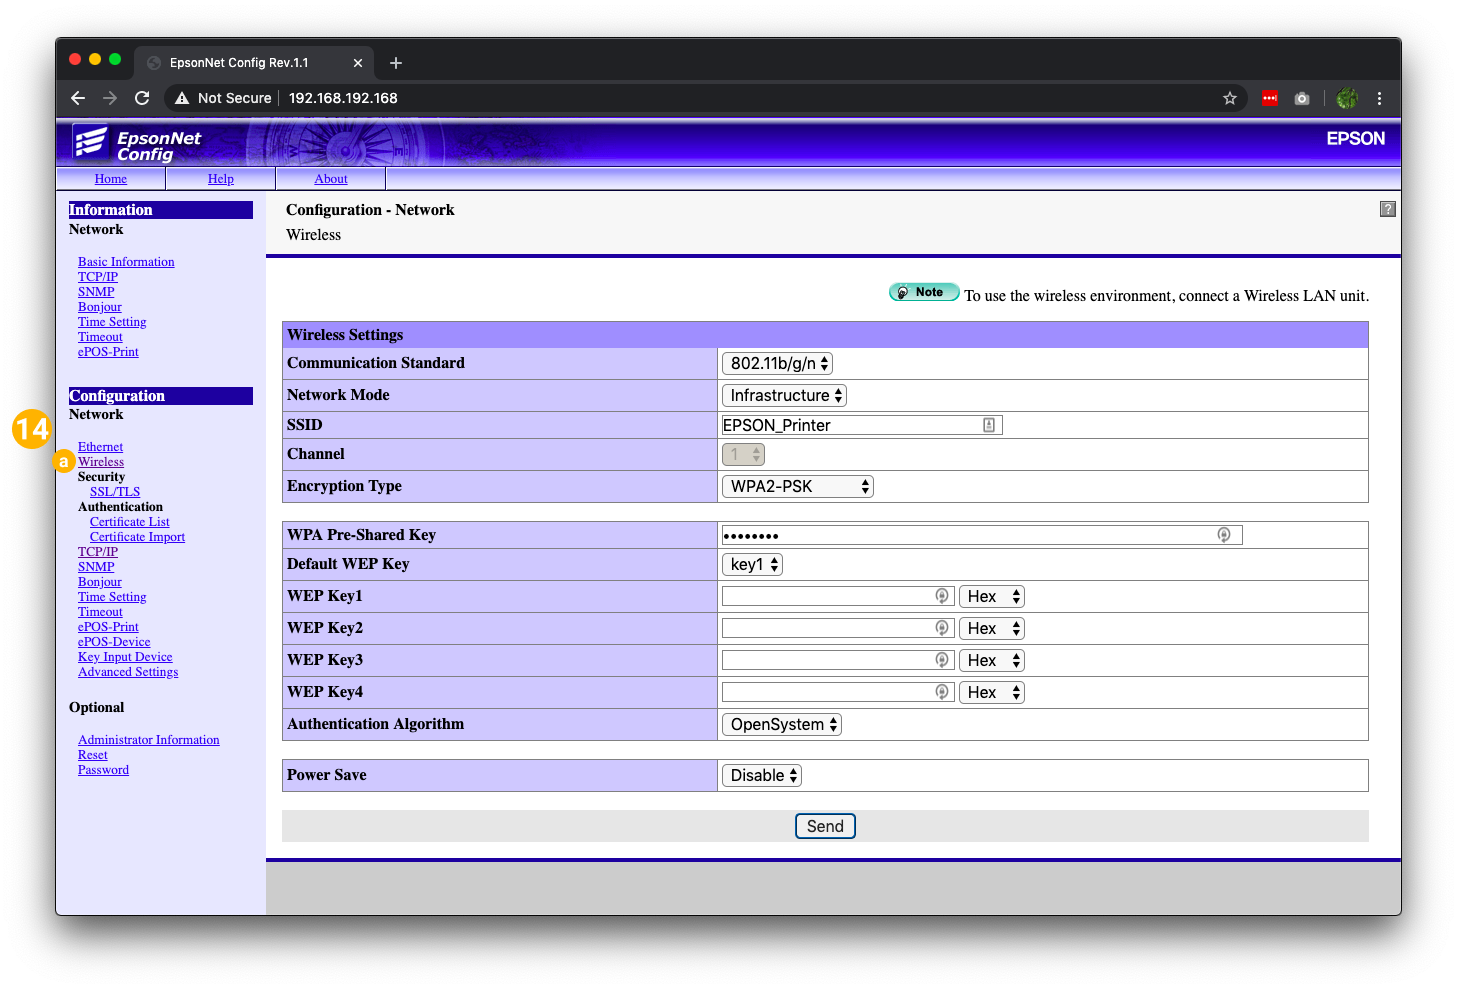
b. Enter the SSID (this is the name of the network) | |
c. Select Encryption Type > WPA2-PSK
| 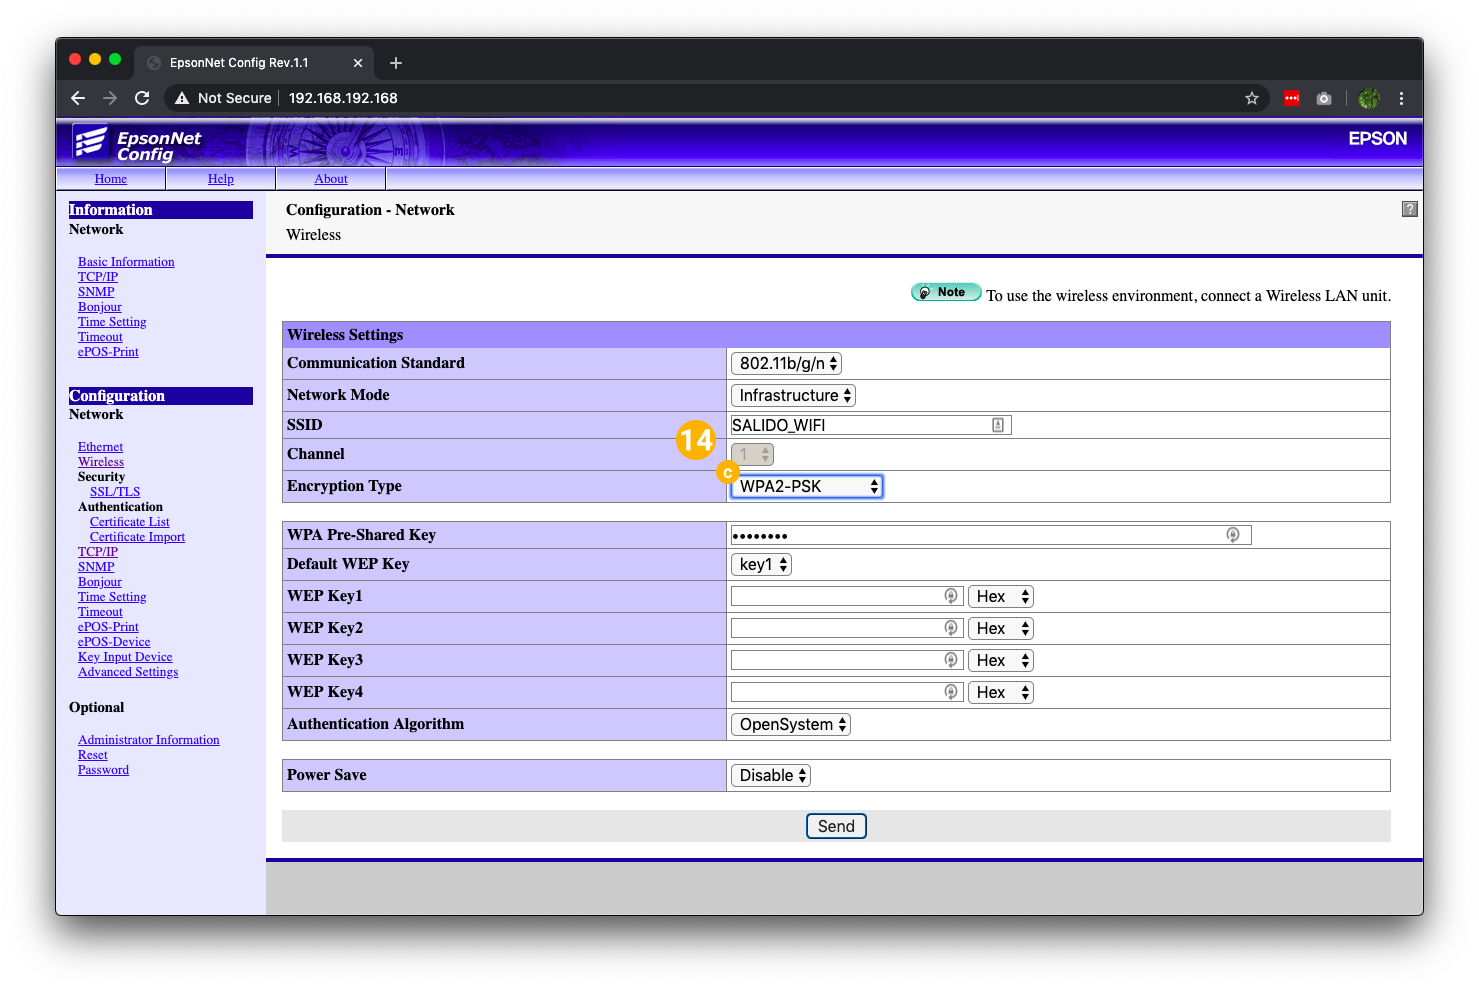 |
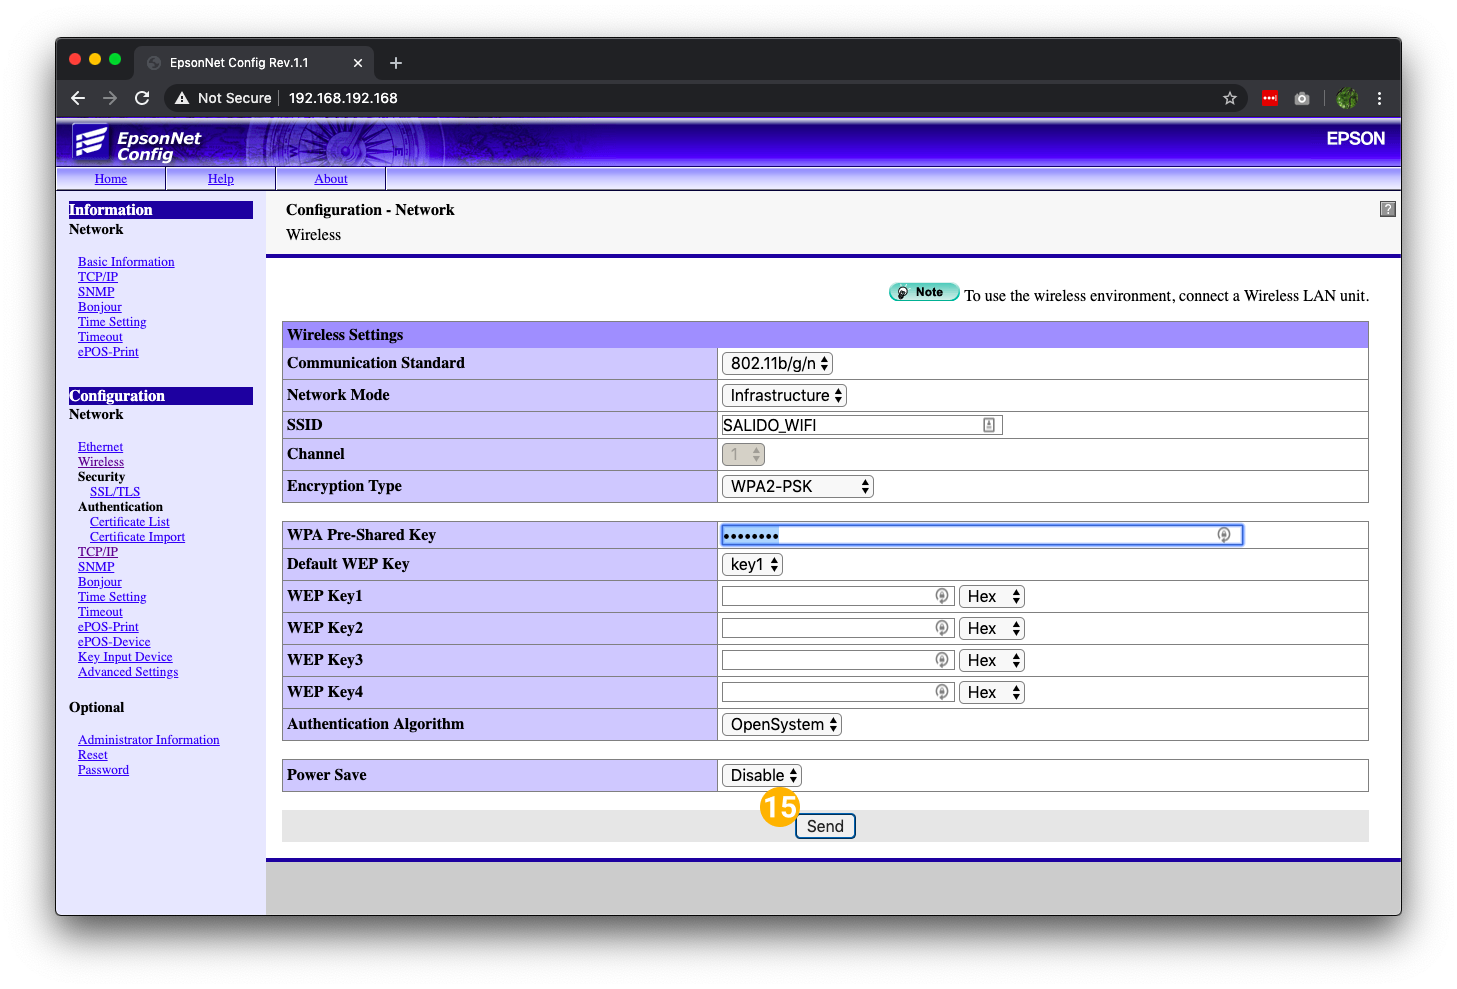
d. Enter the WPA Pre-Shared Key (this is the WiFi network password) | 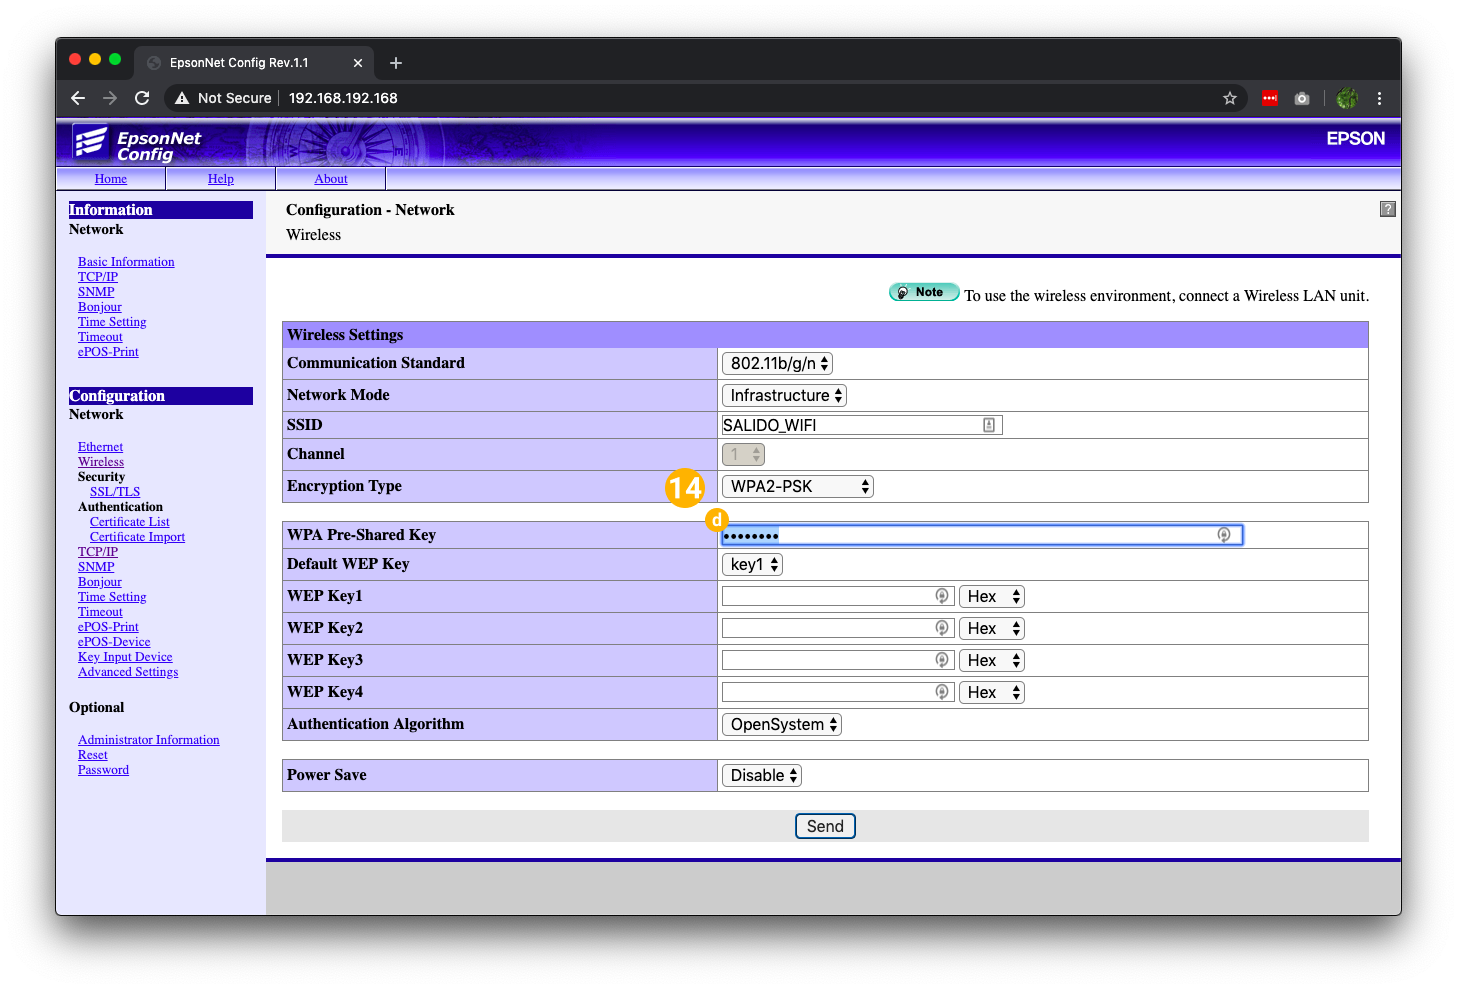 |
| |
|
|
|
|
|
|
Was this article helpful?
That’s Great!
Thank you for your feedback
Sorry! We couldn't be helpful
Thank you for your feedback
Feedback sent
We appreciate your effort and will try to fix the article